OpenVPN 2FA not working? Manually entering your password followed by a 2FA token can be frustrating and error-prone. Here's how to simplify OpenVPN logins and improve your workflow.
OpenVPN 2FA Setup
Many OpenVPN setups, particularly older or enterprise servers, require users to enter their password immediately followed by a time-sensitive 2FA token. This is often referred to as the combined-credential method.
The problem? Typing both the password and the OpenVPN 2FA token manually can lead to mistyped credentials and failed logins, especially when tokens expire quickly.
When Do OpenVPN Users Run Into 2FA Issues
This problem typically occurs in legacy or enterprise OpenVPN deployments that enforce the combined credential method. Examples include:
- Corporate remote access servers: legacy OpenVPN authentication with enforced 2FA.
- Cloud-hosted OpenVPN servers: configured for password + token login.
- Development or testing environments: older OpenVPN setups requiring strict 2FA timing.
How to Solve OpenVPN 2FA Problems with VPN Tracker
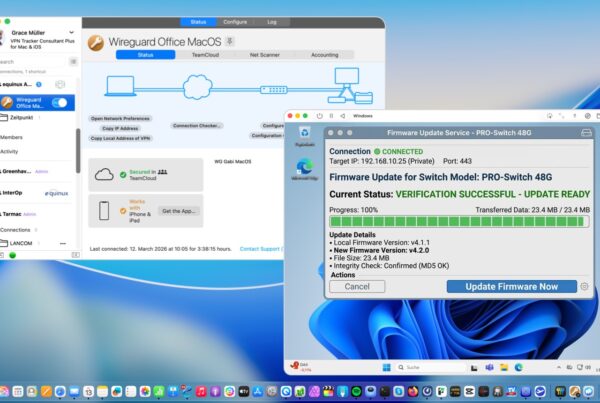
For users connecting on Mac or iOS, VPN Tracker provides a convenient option for faster one-step login. With VPN Tracker, all you need to do is enter your token upon connection, and the app handles the combined credential automatically.
Your benefit: fewer typos, faster logins, and a smoother VPN experience — particularly for setups still using the legacy authentication flow.
How it works:
- Create a new OpenVPN connection in VPN Tracker and upload your .ovpn configuration file
- Under User Authentication, select Username + Password from the dropdown, then enable the checkbox Combined Credential Authentication
- When you connect, enter your 2FA token when prompted — VPN Tracker handles the password + token automatically

Try OpenVPN 2FA in VPN Tracker Today
VPN Tracker makes OpenVPN logins with 2FA simple and error-free. Download the latest version and enable Combined Credential Authentication to get started: