As a consultant, you’ve probably been using VPN Tracker for your own connections for years. Still, when it comes to managing client VPNs, things can get complicated. Maybe you’ve held off on setting up shared access because you didn’t want clients to see your personal connections?
Did you know? Instead of juggling multiple VPN apps for clients, you can use VPN Tracker to create a separate team for each of them, keeping everything organized and fully isolated with no overlap.
In this step-by-step guide, we show you how to efficiently use the Teams feature in VPN Tracker to securely manage multiple client connections, as well as your own. Let's get started!
Create a new Team
In VPN Tracker, Teams are used to organise people and connections. Only team members with the required access settings can access a VPN connection.
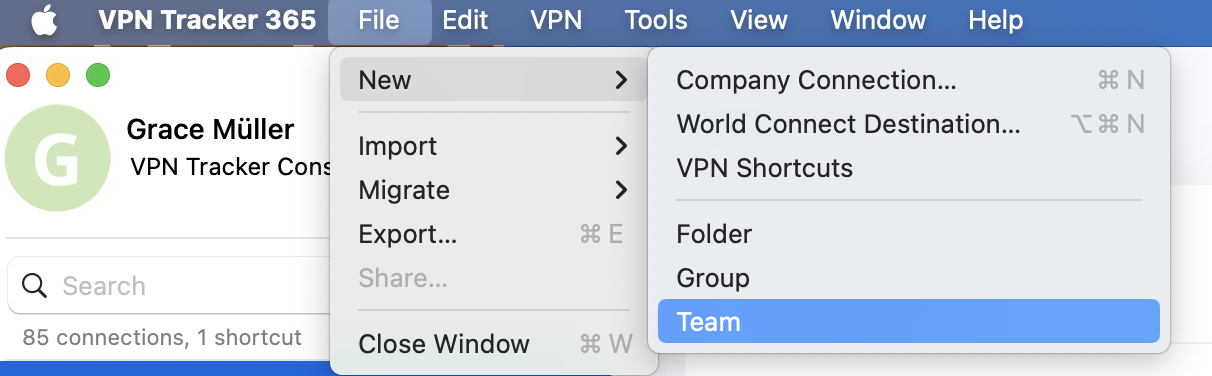
Open VPN Tracker for Mac and go to File > New > Team in the app toolbar:
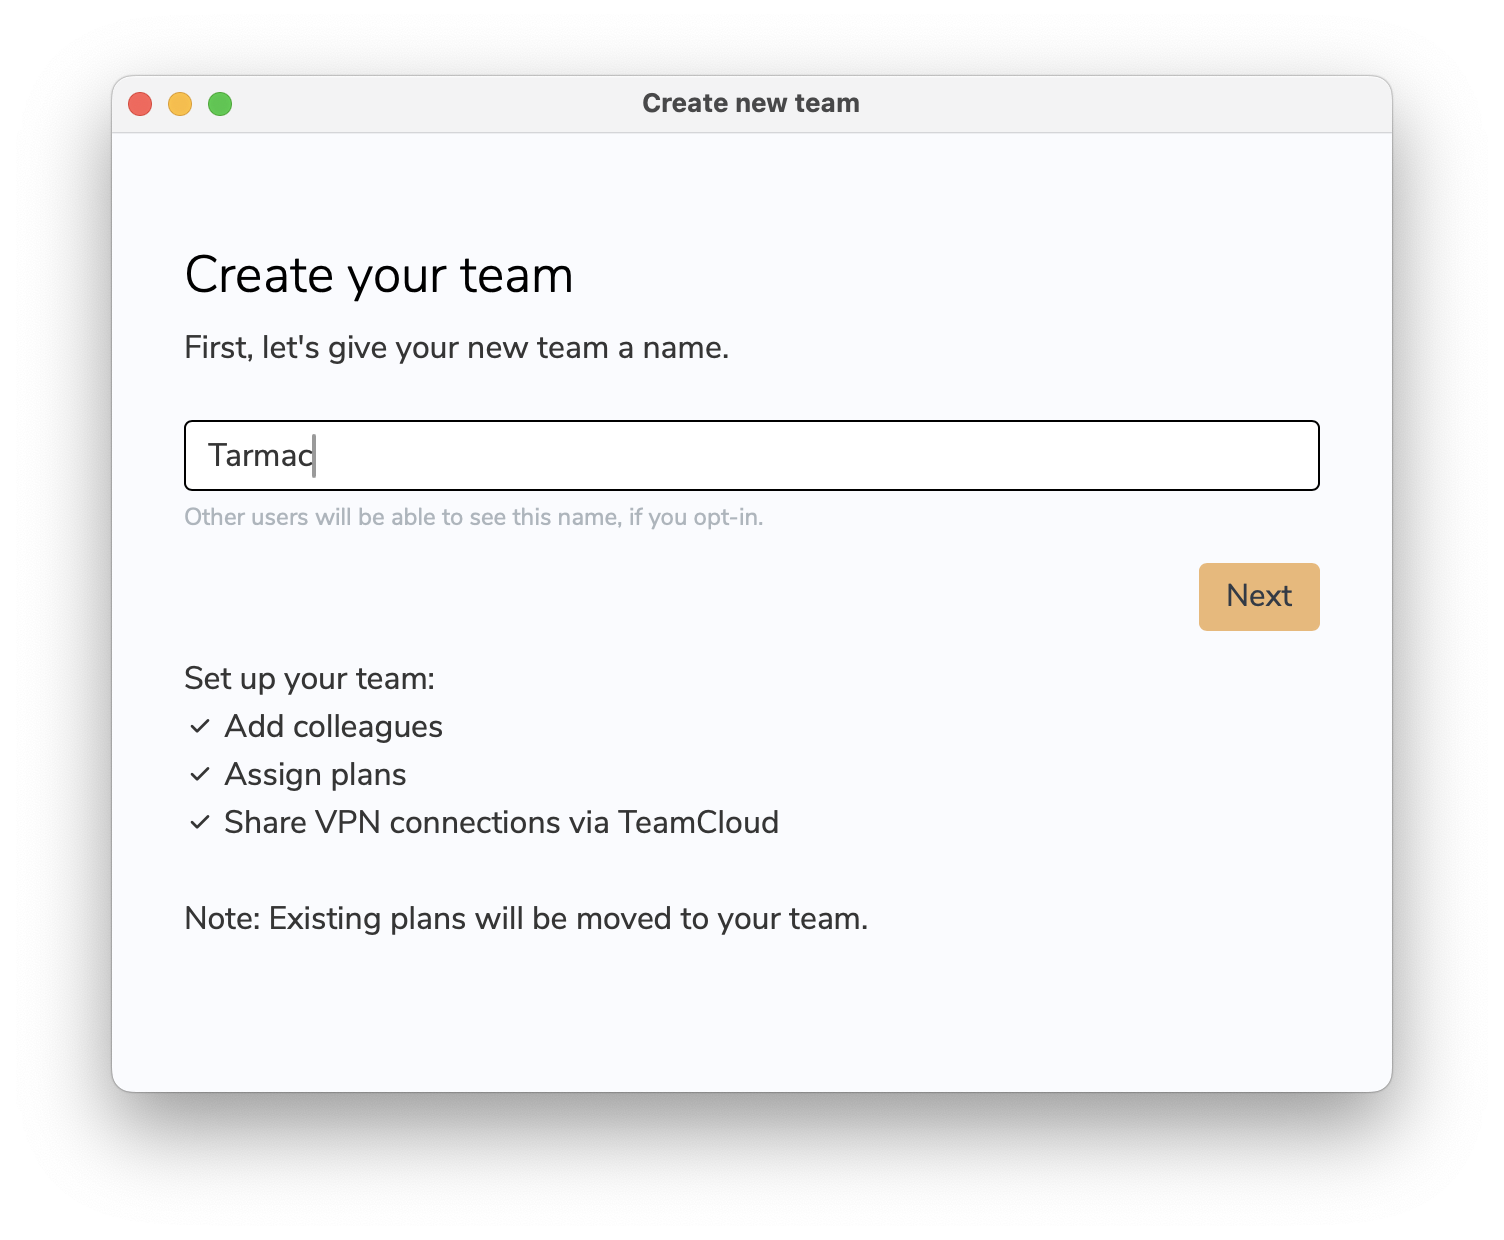
A popup window will open. You can now give your new team a name – i.e. the name of your client. Let's say we are managing the VPN for a small advertising agency called Tarmac:
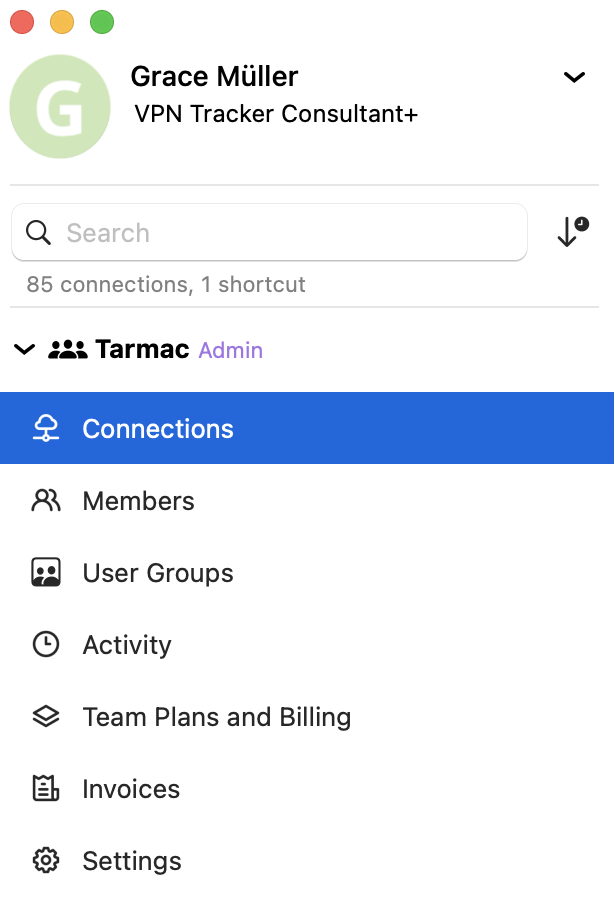
Once you've added a new team, you will see it appear in the app sidebar:
Configure a connection
Now your team is set up, you can get down to business and start configuring their VPN. For our example, we will assume Tarmac only needs one remote access setup for staff to access the office when working remotely.
Using the Connection Creator
In the app sidebar, choose your team and go to Connections > Create connection.
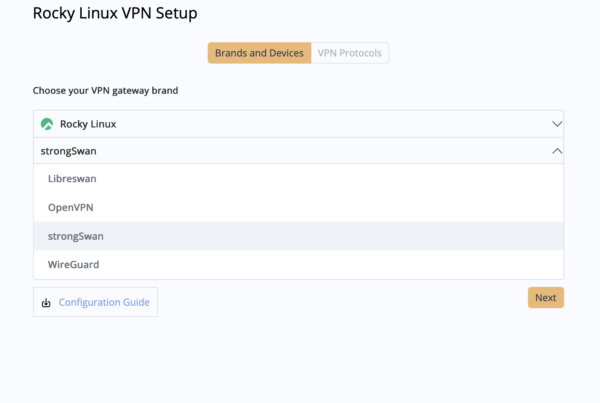
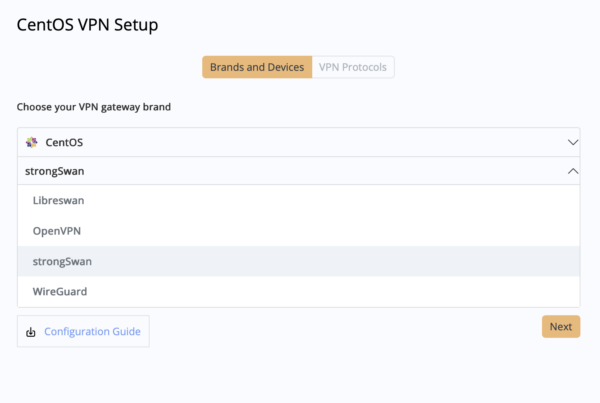
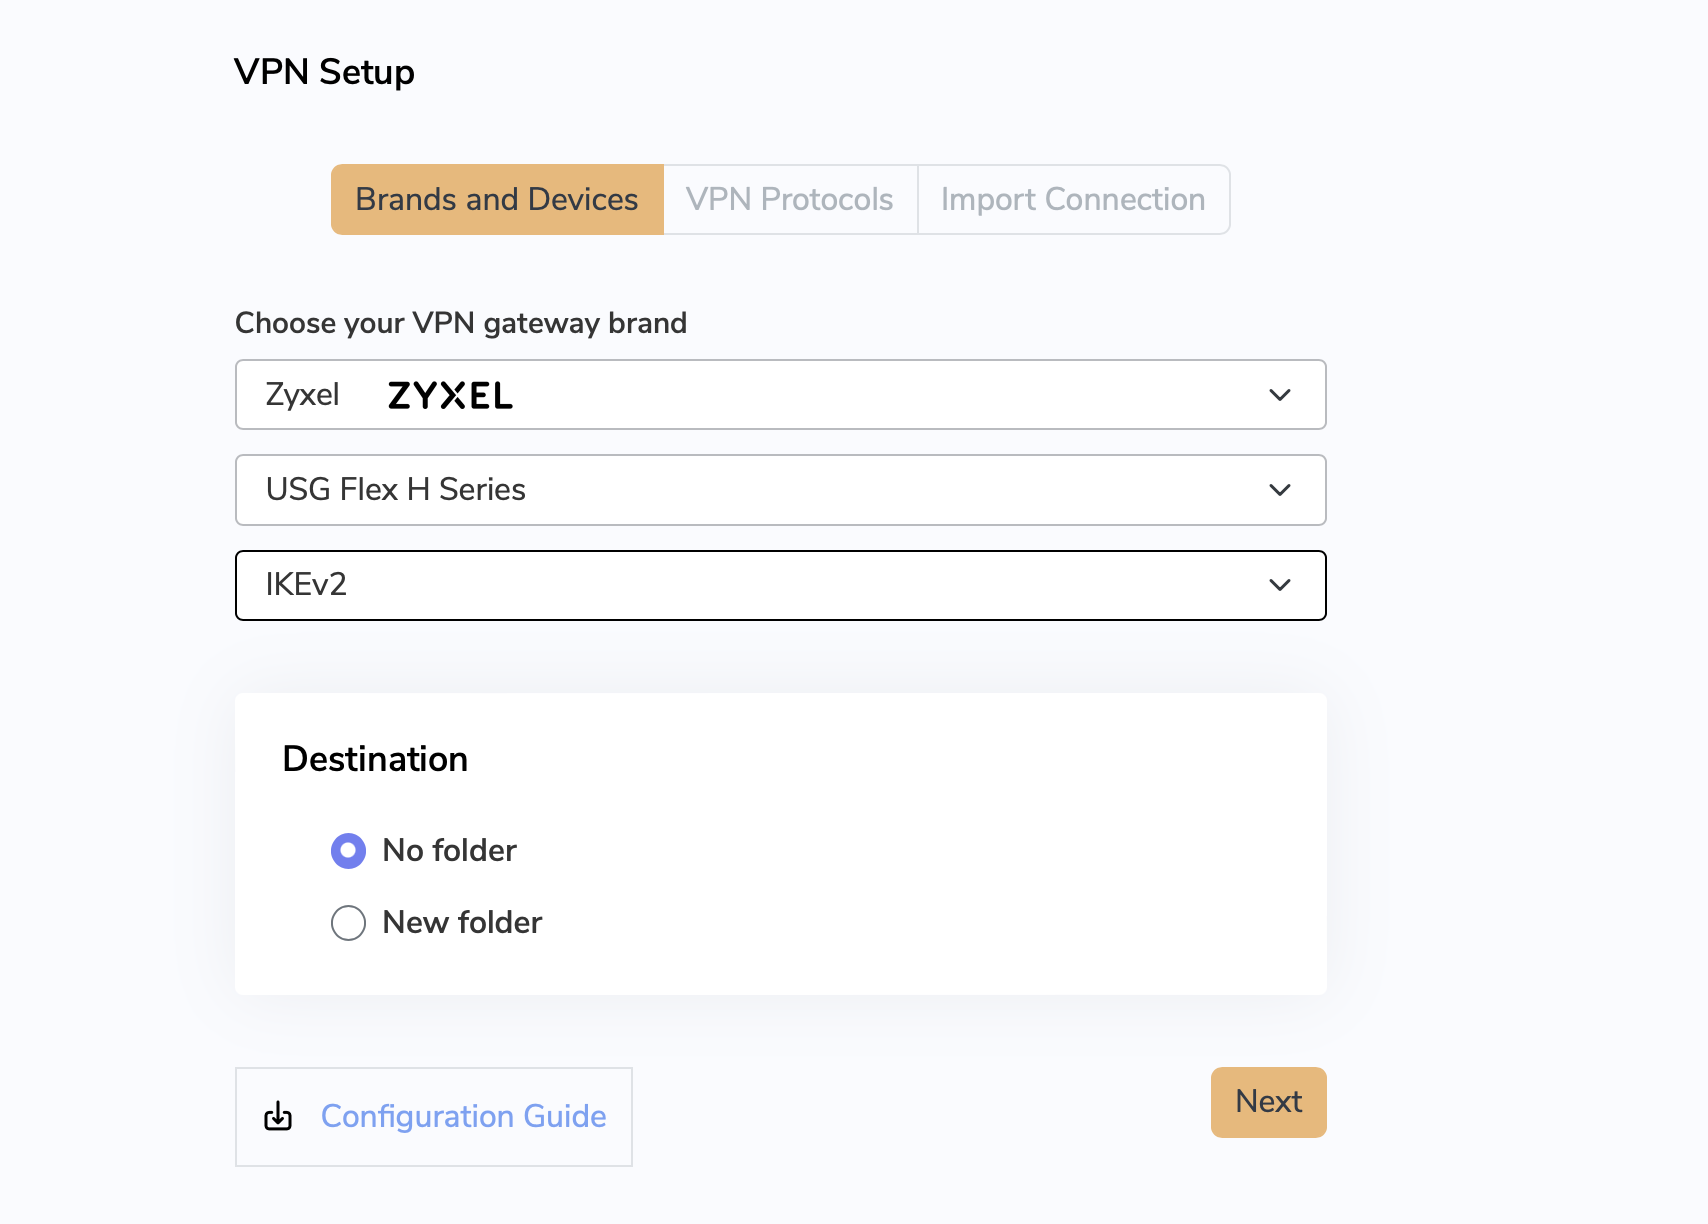
Then, select your vendor, device and protocol from the list. Tarmac uses a Zyxel USG Flex 100H firewall and we are setting up the connection using IKEv2.
You will now be given the option to create a folder for your connection – this can be a useful way to organize connections within your team if you know you will be configuring more in the future. Because Tarmac only has one VPN setup, we will skip this step in our example.
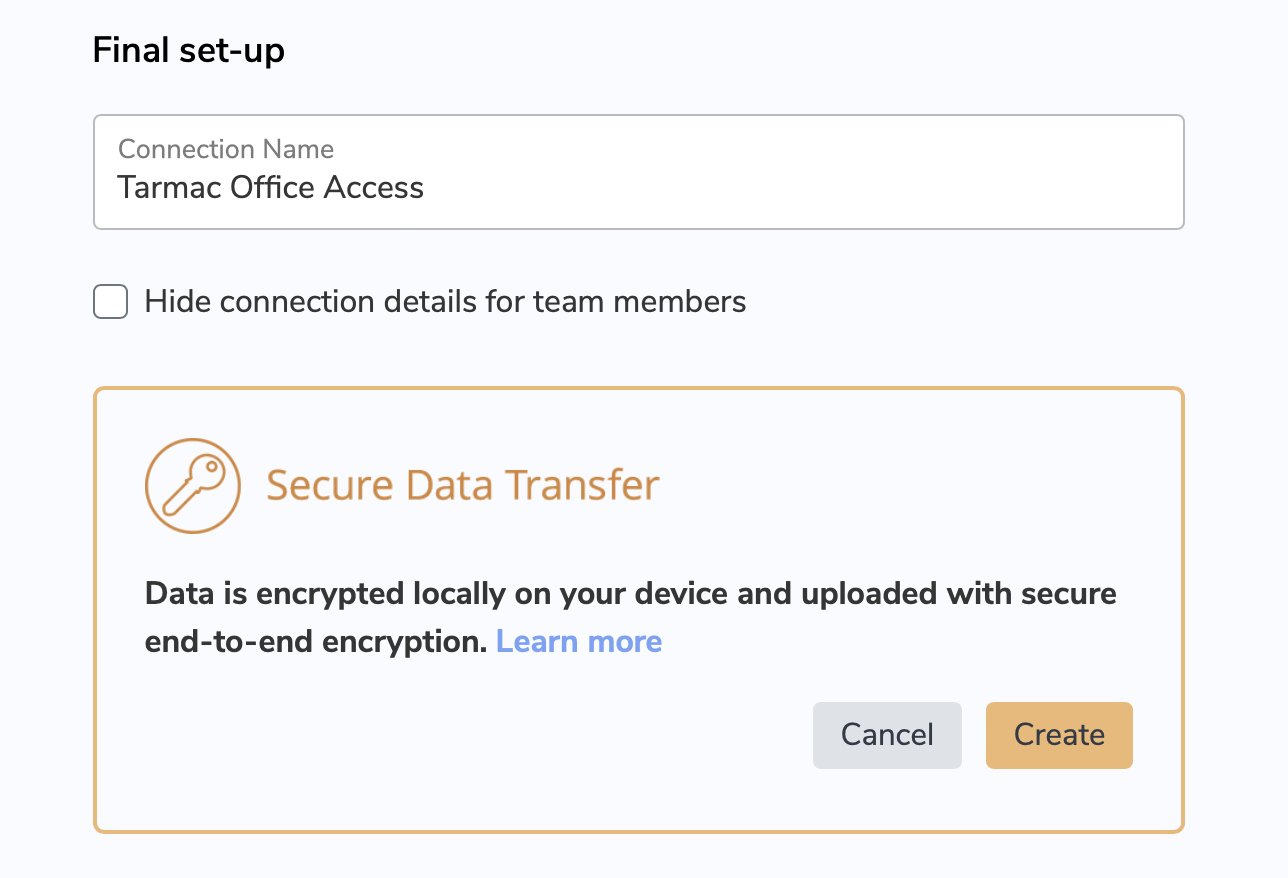
In the next step, enter the details of your VPN configuration:
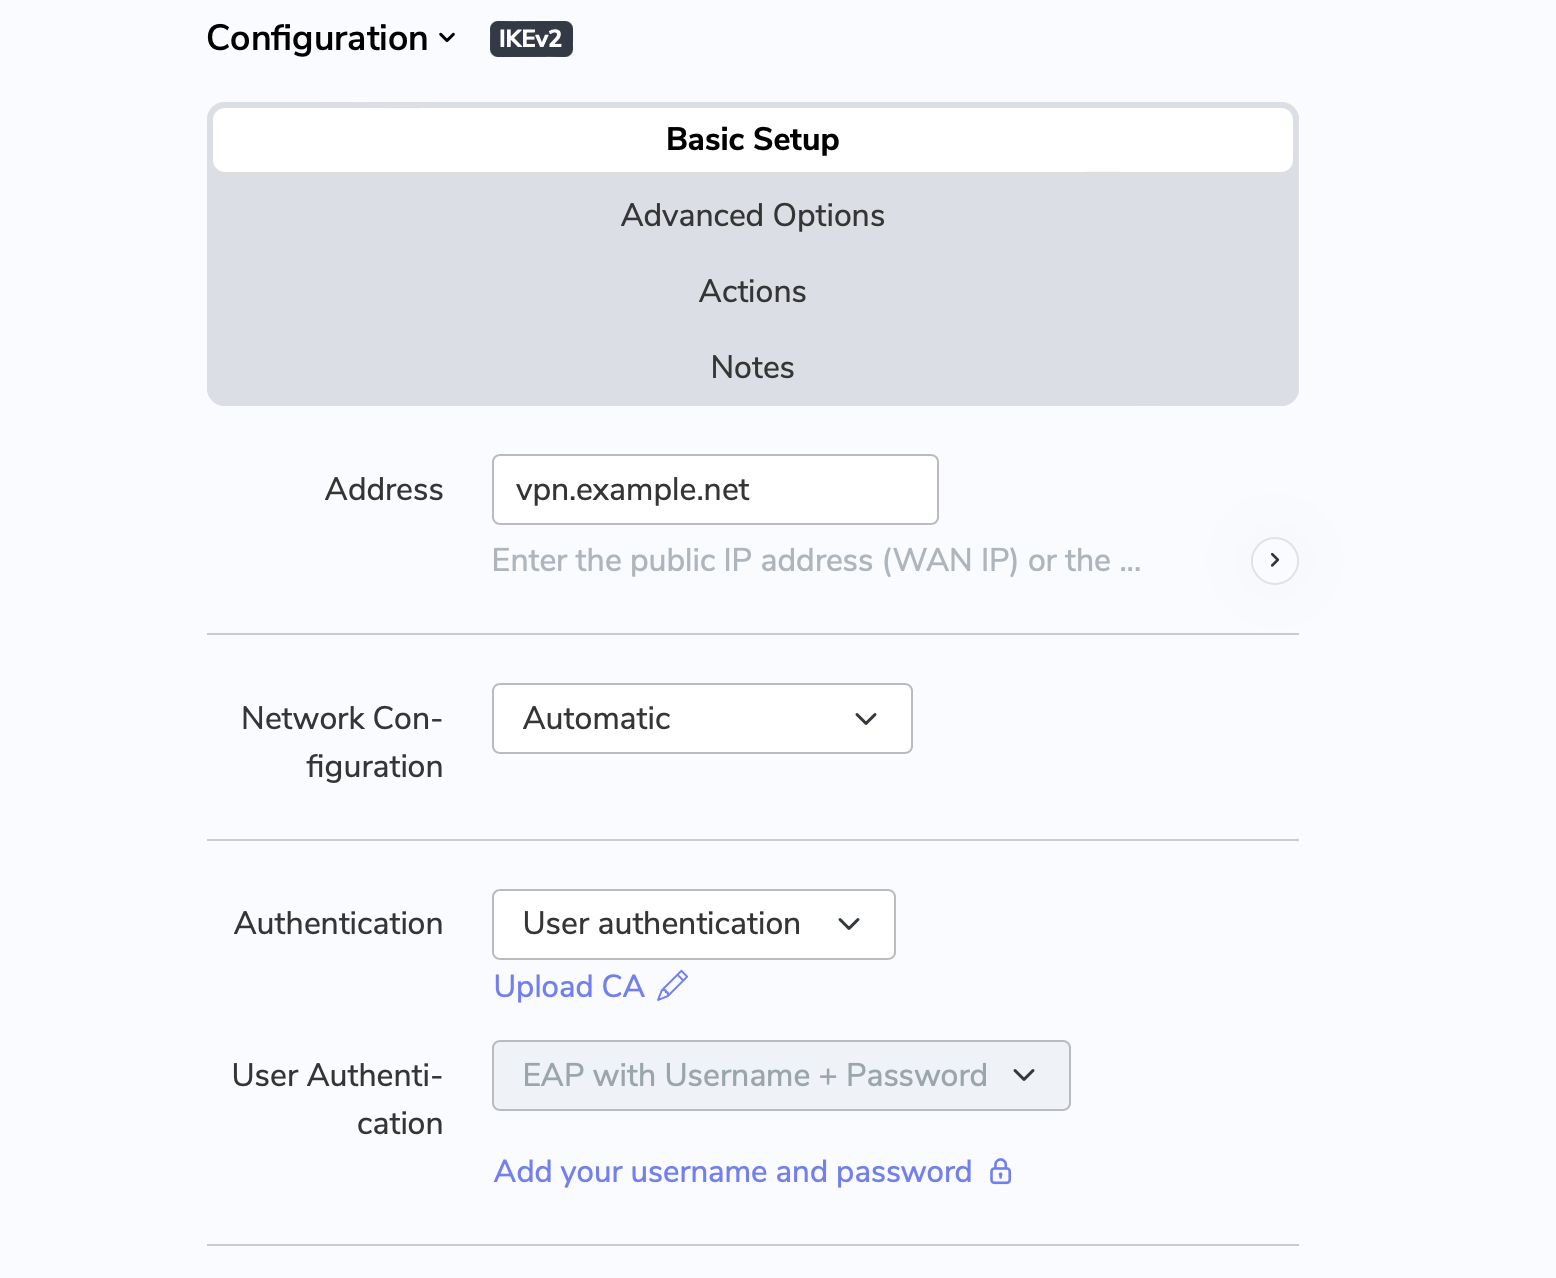
When you’re done, give your connection a name that users will easily recognise – in this case Tarmac Office Access. If required, you can also check the box to hide the configuration from users.
Finally, click to add your new connection to your Team.
Access controls for connections
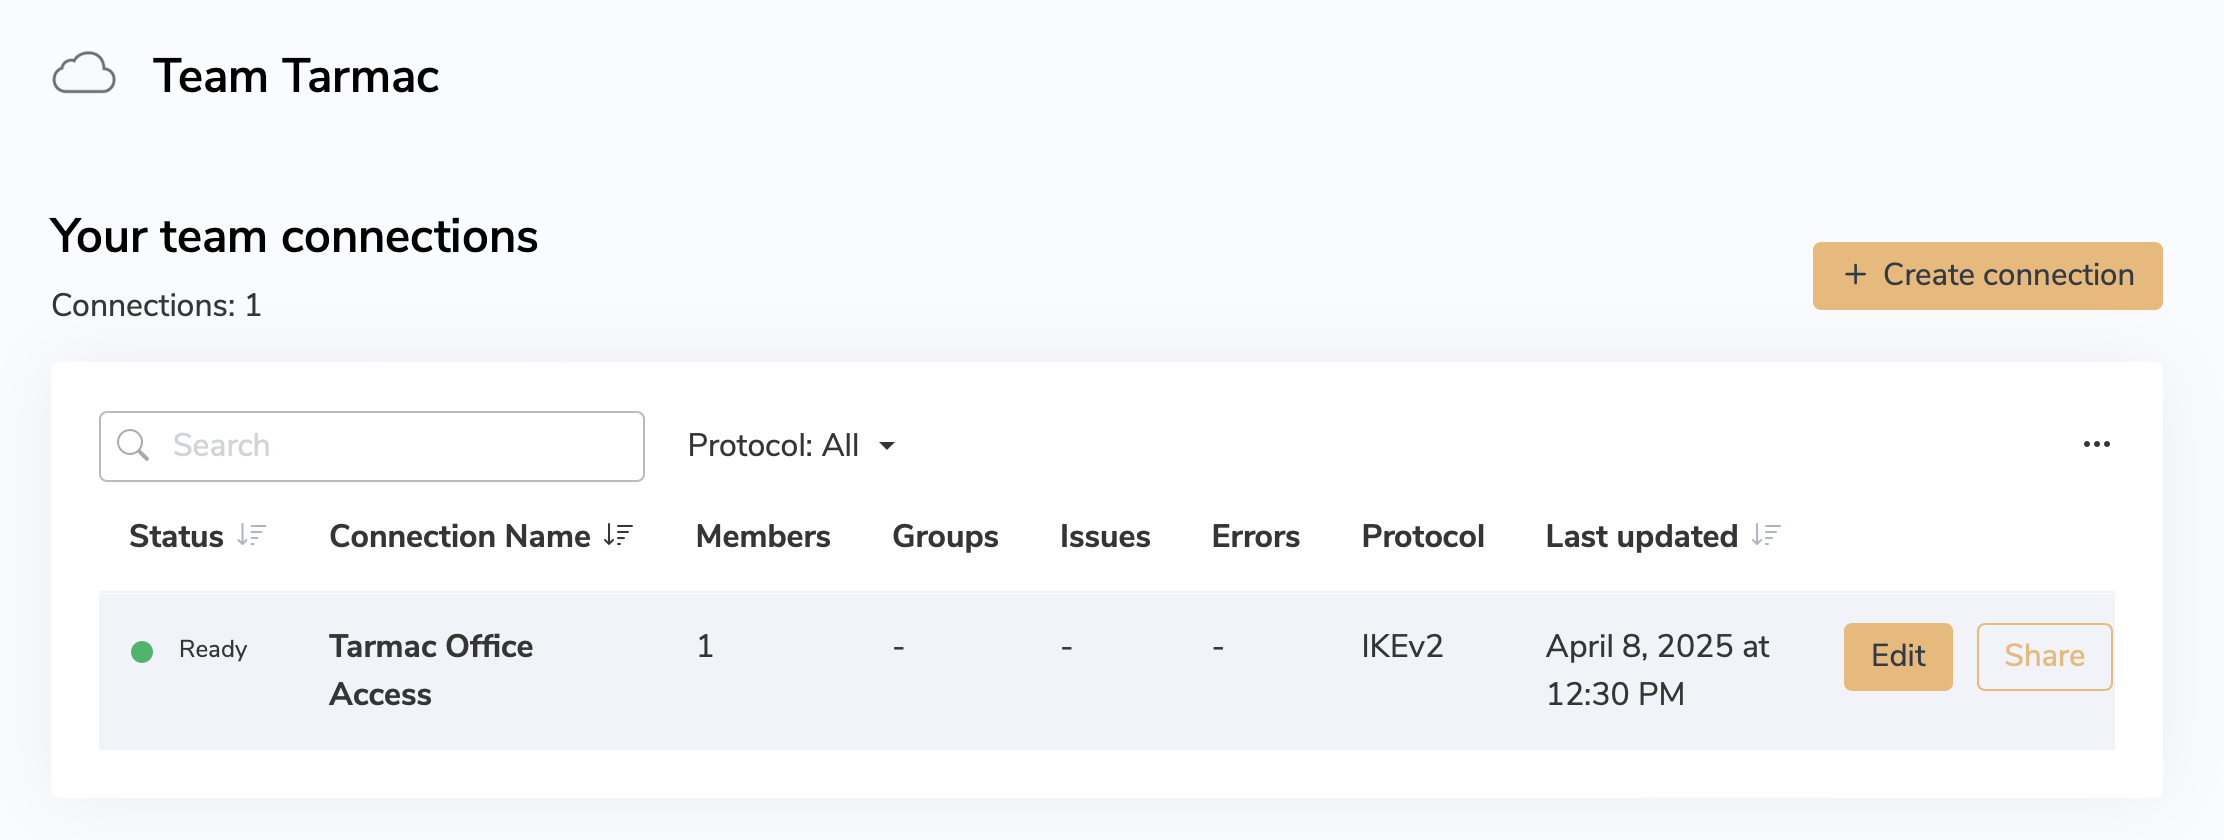
You will now see your new connection appear in the app sidebar. Notice that the Access icon is still grayed out. This means it has not been published and is therefore not yet visible to your team. This gives you the chance to test, tweak settings, and add access controls before rollout.

To make changes to a connection, go to Connections and click Edit:
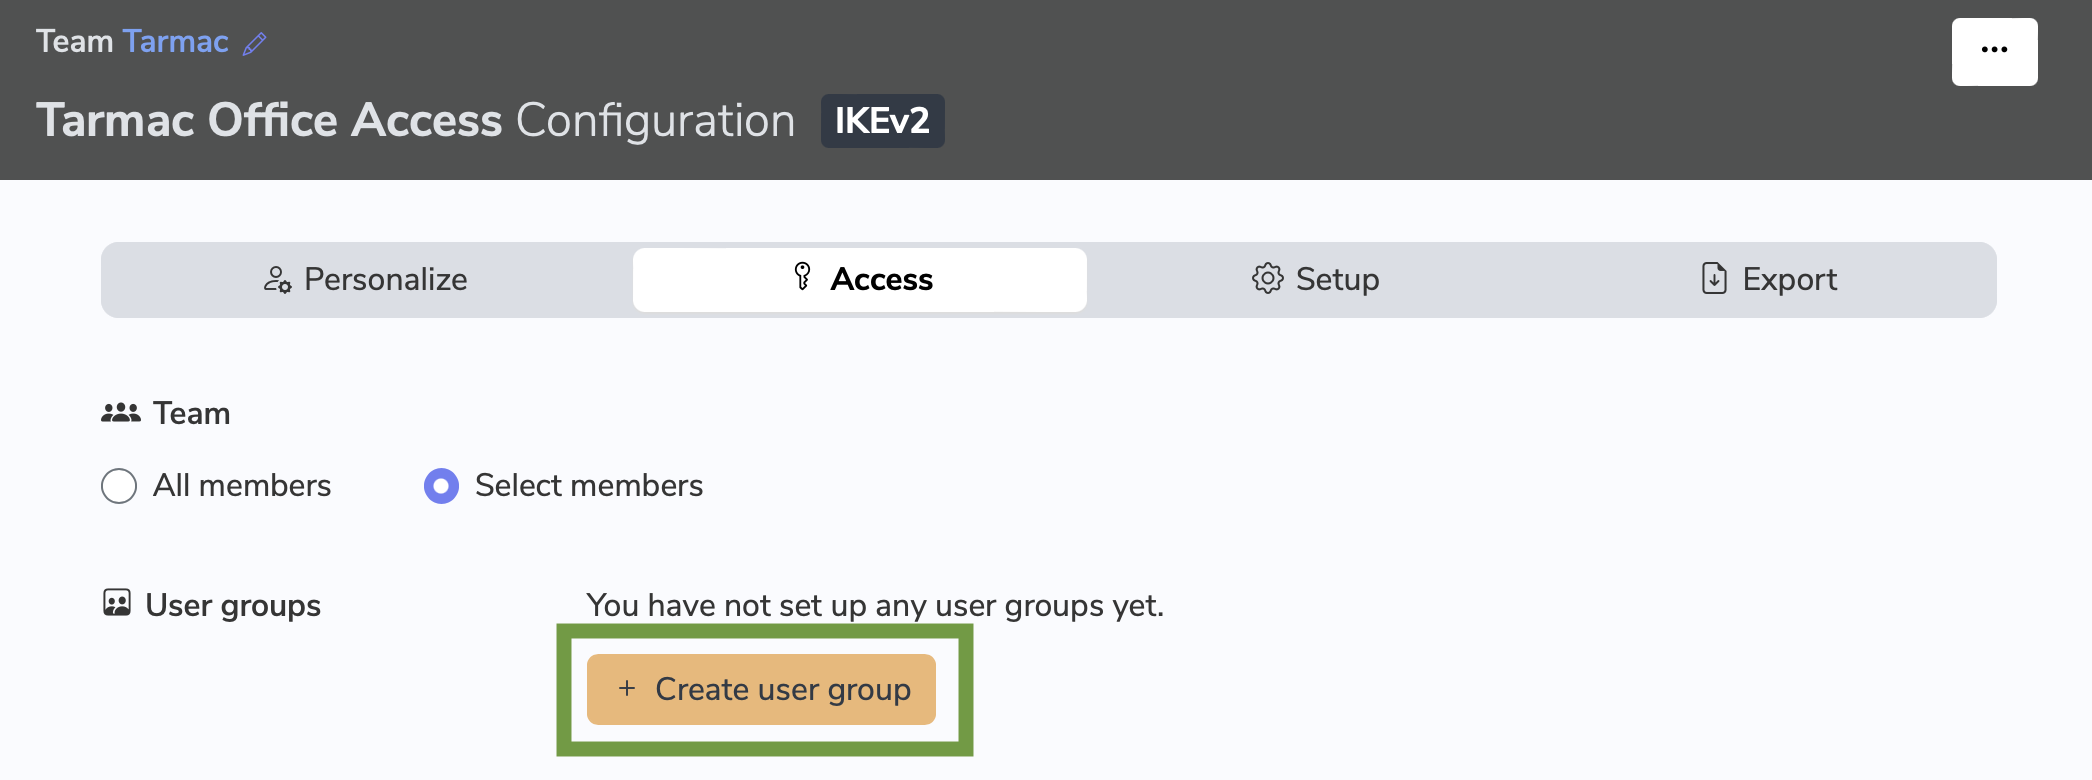
Here you will see multiple options. Let’s start with Access. Under the Access tab, you can determine who will be able to connect to the VPN. Once you have added members to your team, you can set up User Groups if you know some connections in your team will be restricted. Alternatively, you can allow access for all team members.
Next, under the Personalize tab, you can preemptively add certificates and login details for connections. This makes it easier when Tarmac staff are connecting for the first time, as it avoids them needing to ask around for usernames and passwords. Users can just start the connection and get to work right away.


Finally, click the slider to publish your connection. Once you’ve done this, it will be visible to any team members who have been granted access.

Invite members
Your connection to Tarmac HQ is ready to share with staff! Go to the Members tab and click Invite members:
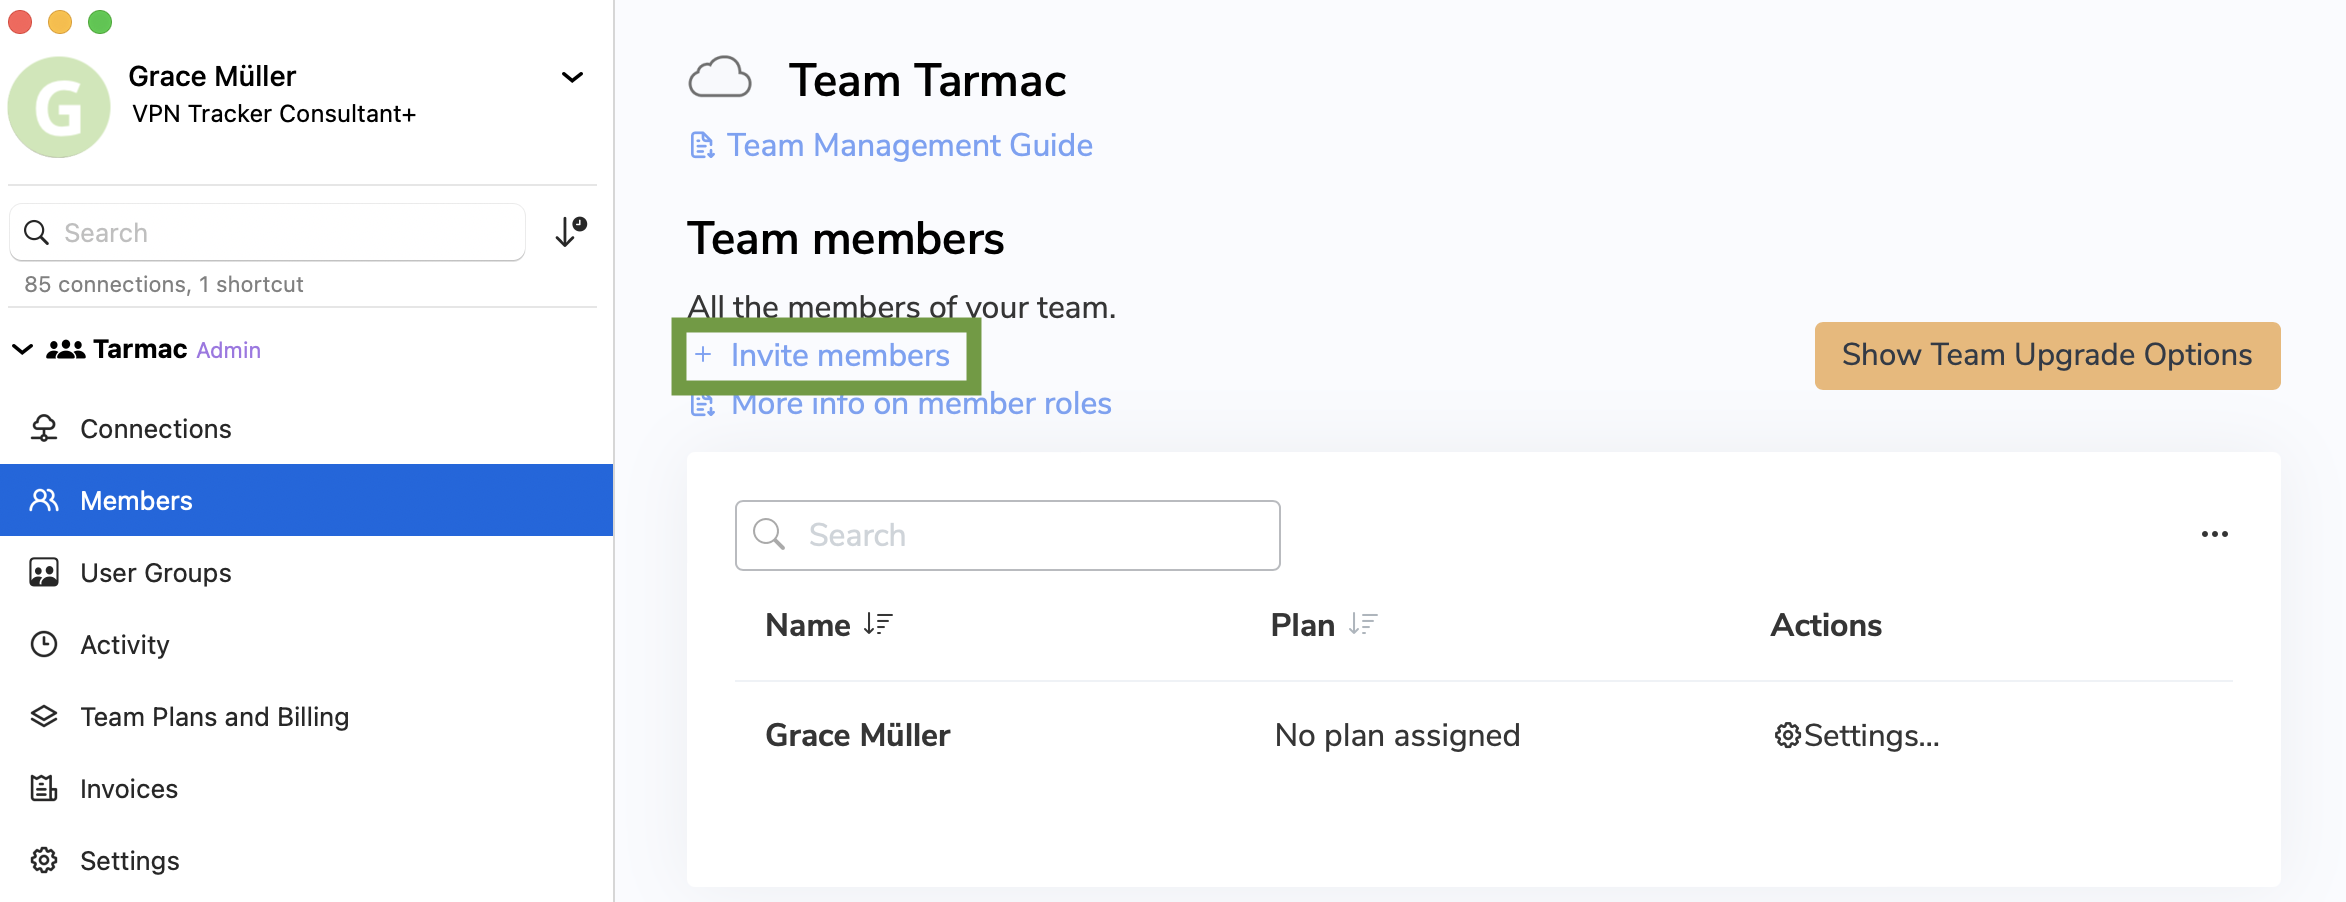
Here, enter the email addresses of the staff who will need to use the connection. In our example, this will be any of the staff at Tarmac who need remote access to their company network.
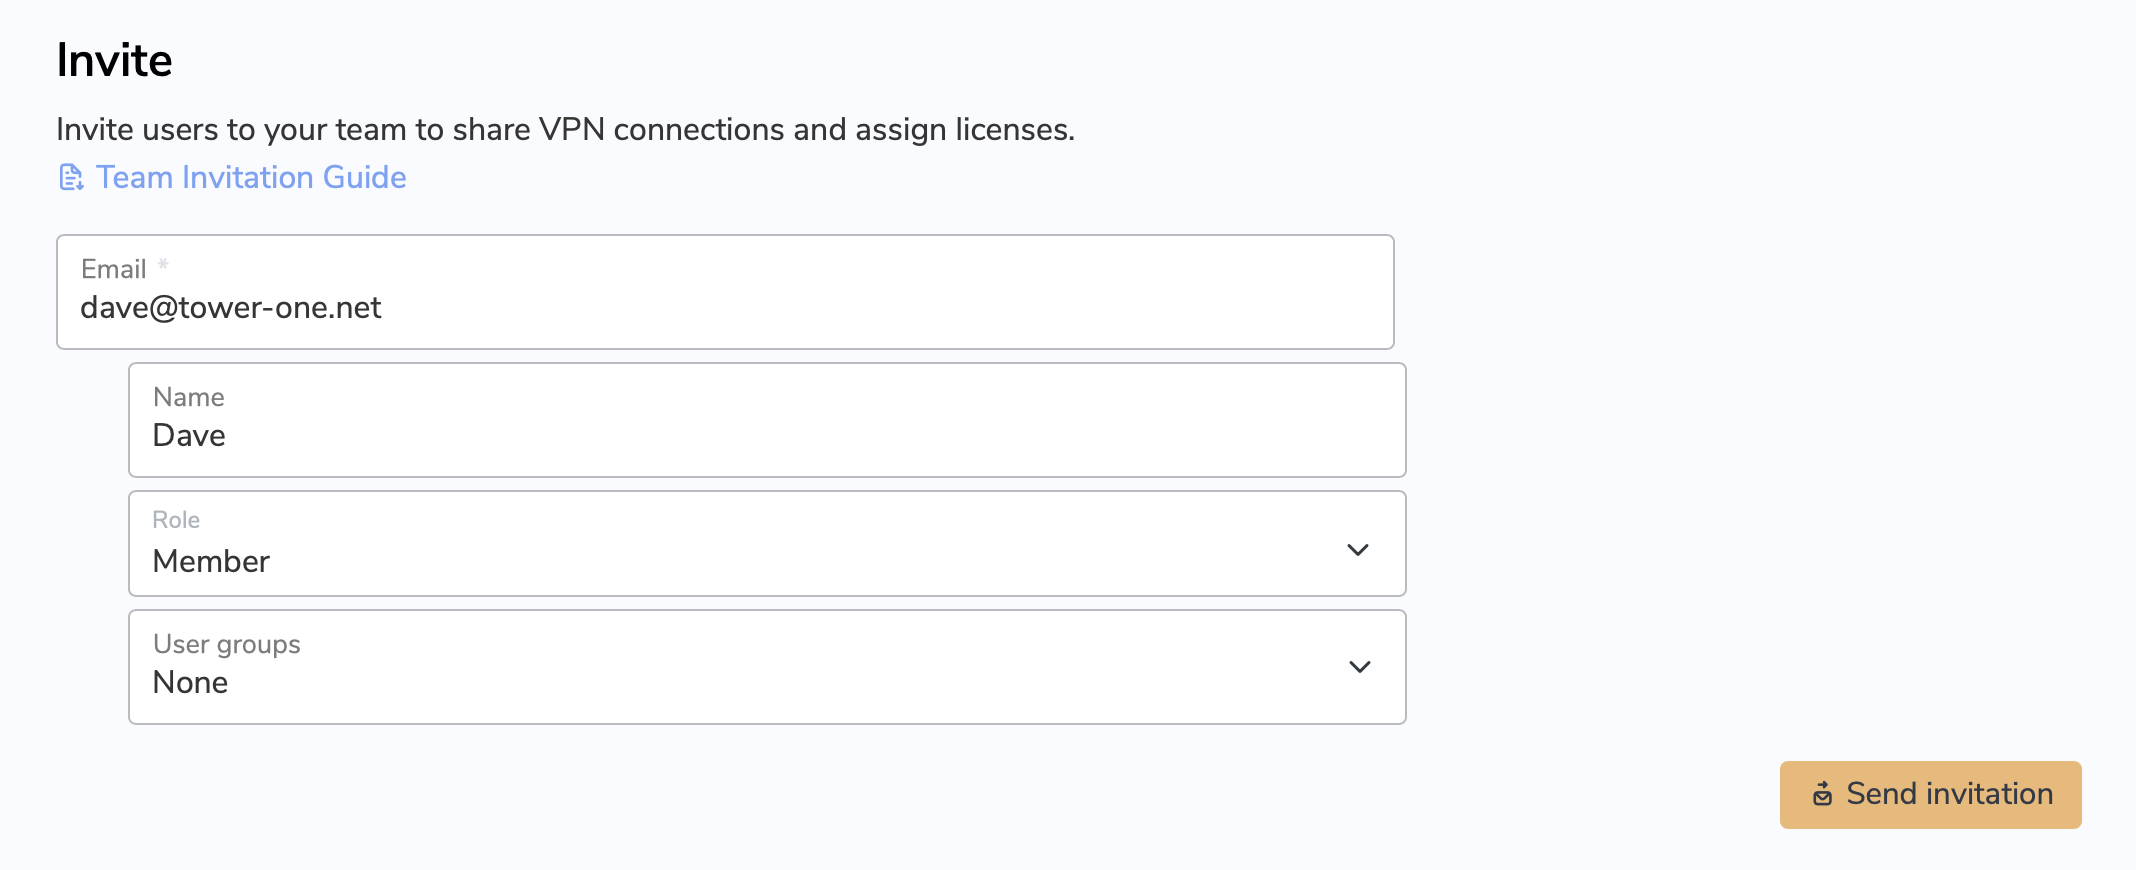
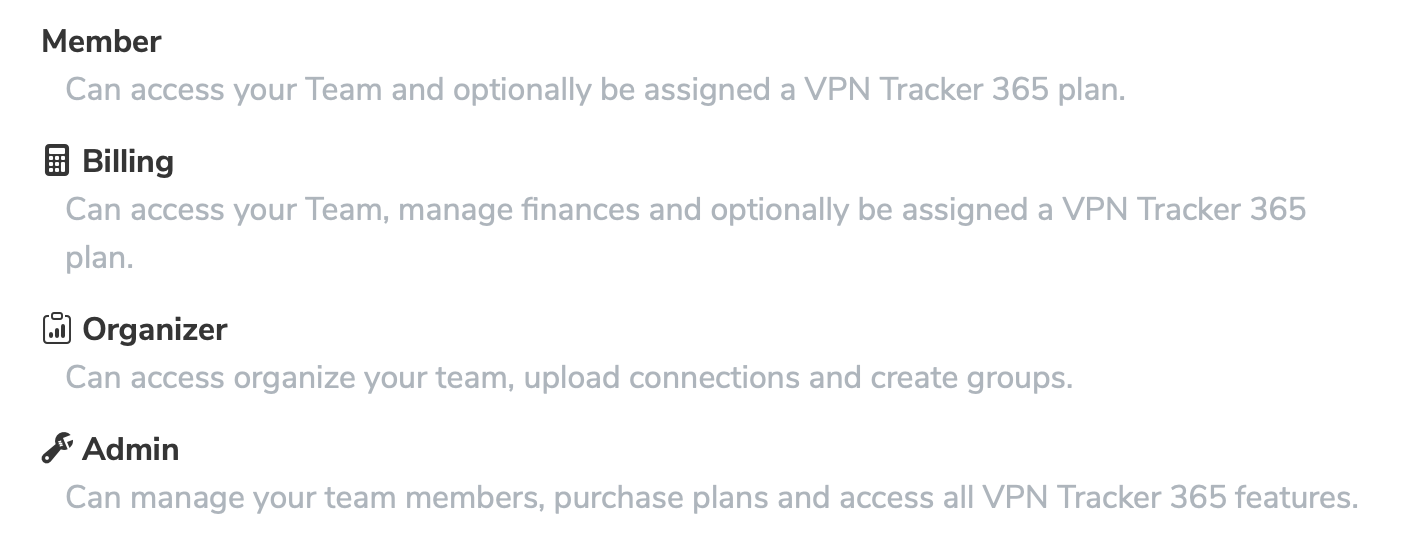
In this step, you can also choose a Role for new team members. In this case, the Member role will be sufficient for most Tarmac employees, as they only need to use the connections. If you want to grant extra permissions, select the Role here accordingly.
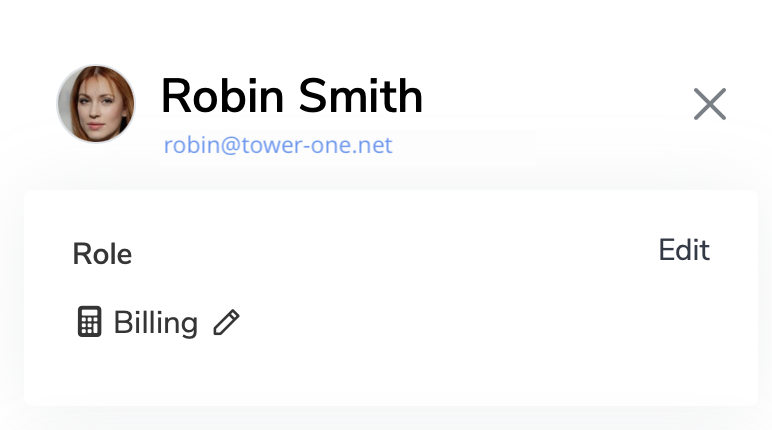
For example, Robin is the accountant for Tarmac. We’ve assigned her the ‘Billing’ role so she can also have access to invoices and billing information that regular members can't see.
Purchase and Assign Licenses
In order to use VPN Tracker to connect to a company VPN, each member of your team requires a license.
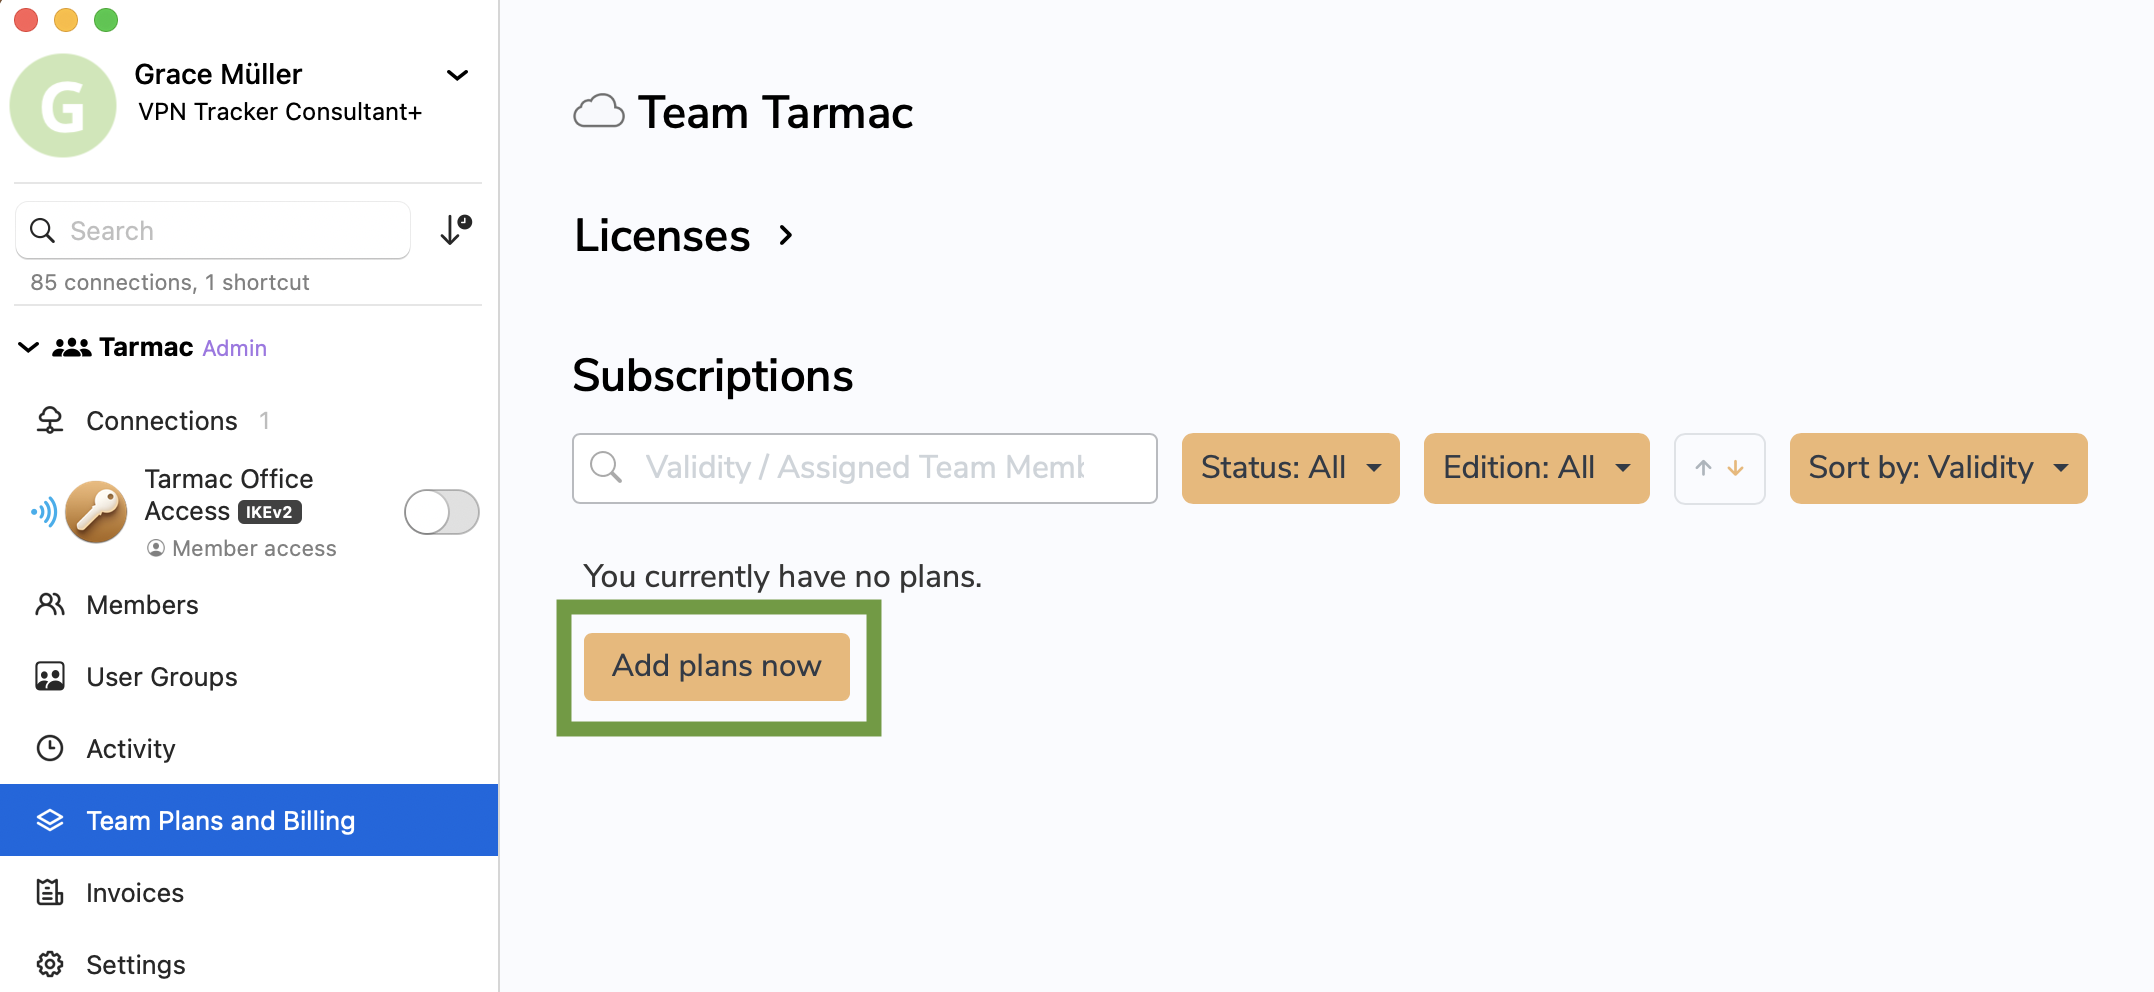
Every team member with the Billing or Admin Roles is able to add licenses to a team – in our example, that's Robin the accountant and Grace the consultant.
Go to Team Plans and Billing in the app sidebar and click Add plans now. Then select the number of licenses you'd like to add from the VPN Tracker Store.
Assigning licenses
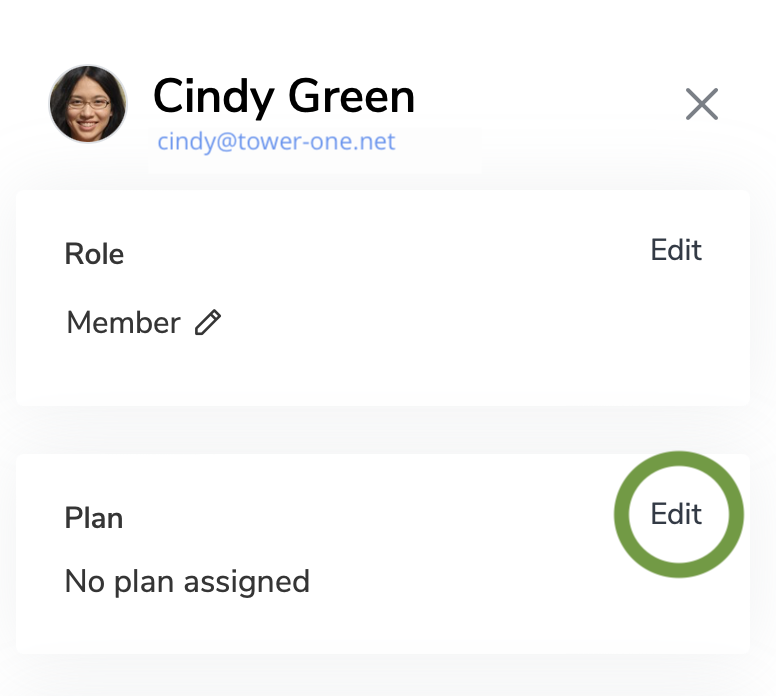
Once you’ve purchased licenses, you can assign them to your team members so they can start using VPN Tracker.
Go to the Members tab, select a user, and click Settings. Under Plan, you can choose an appropriate available VPN Tracker plan for the user.

Team setup is now complete, meaning your clients have a dedicated workspace to access their VPN connections - completely separate to your personal connections or those of other clients.
More client connections to add? To set up additional teams, simply repeat the steps in this guide and enjoy one app for all your client connections.
Why choose VPN Tracker for your client connections?
VPN Tracker is the best VPN client for consultants, offering support for major VPN protocols on Mac, iPhone and iPad – including IKEv1 + 2, WireGuard®, OpenVPN, SonicWall SSL, and many more.
Your benefits with VPN Tracker
- Save time and securely deploy client VPN connections
- Centralized team management with team audit logs
- Compatibility with top enterprise-level VPN gateways, including SonicWall, Cisco, Fortinet, and Sophos
- Zero-Trust compliant with role-based access controls, User Groups and Shared Secrets
- Advanced remote rollout with Configuration Profiles & Package Installer
Unified billing for all users and dedicated "Billing" role for accounting purposes - See all tech specs