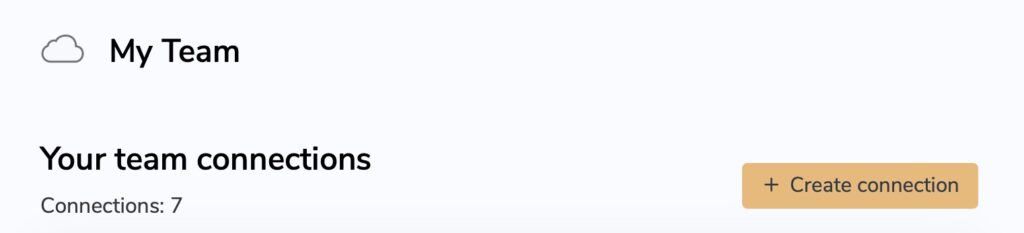
- Open up your team's connection portal in the Web interface: https://my.vpntracker.com/team/connections

- At the top of the main window, press "+ Create Connection"
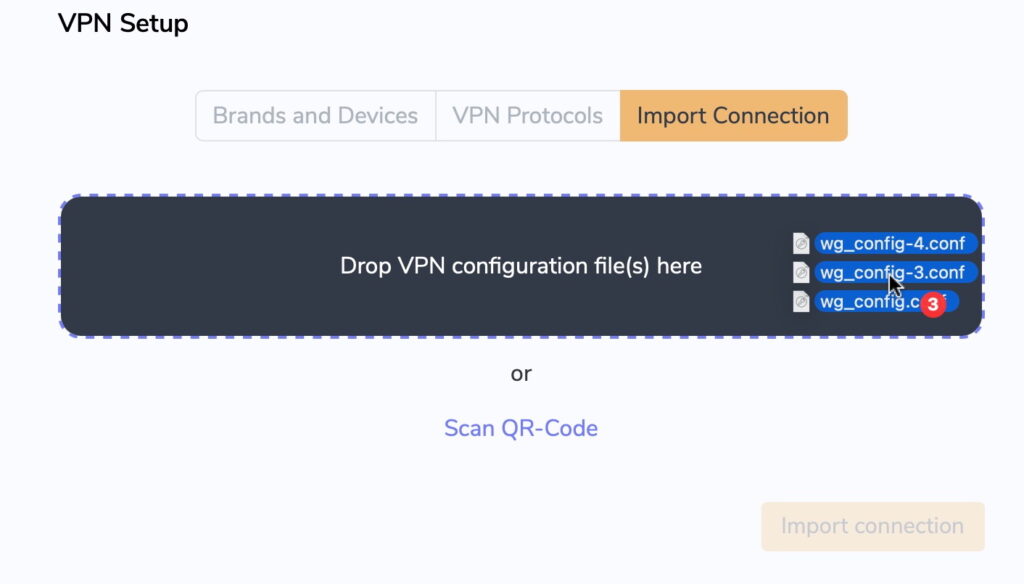
- In the Setup Window, select: "Import Connection"
- Drop your Wireguard Connection Files into the Dropbox
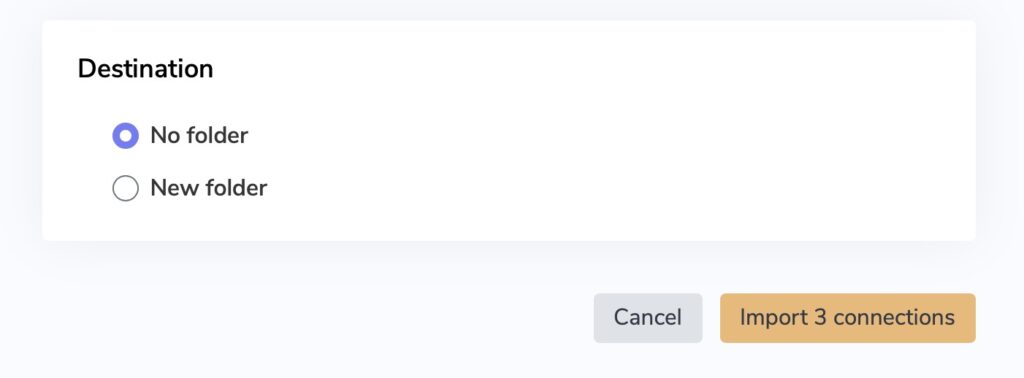
- If you would like to organise the connections into a specific Folder, you can select the folder here, otherwise just press Import
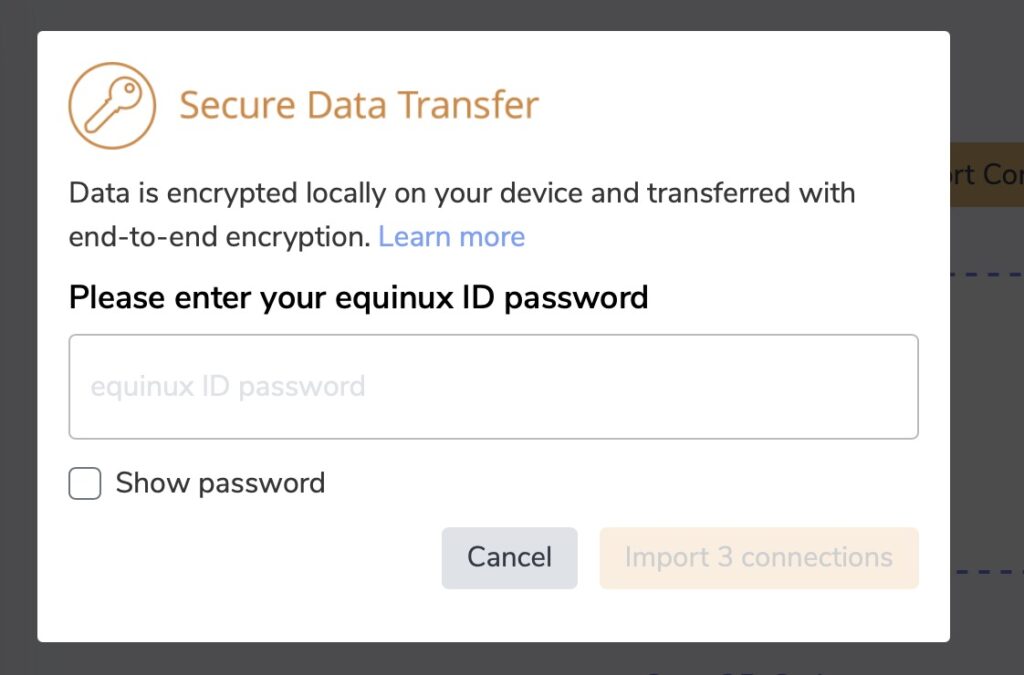
- Since all your Team connections are encrypted before uploading to our servers, please enter your VPN Tracker Account password to encrypt your connections
- After the connections are encrypted and uploaded, they will be displayed on the screen, here you have the option to rename them or add additional connections.

- Click on a connection to edit it and to deploy to a team member.
Basic Connection Rollout settings:
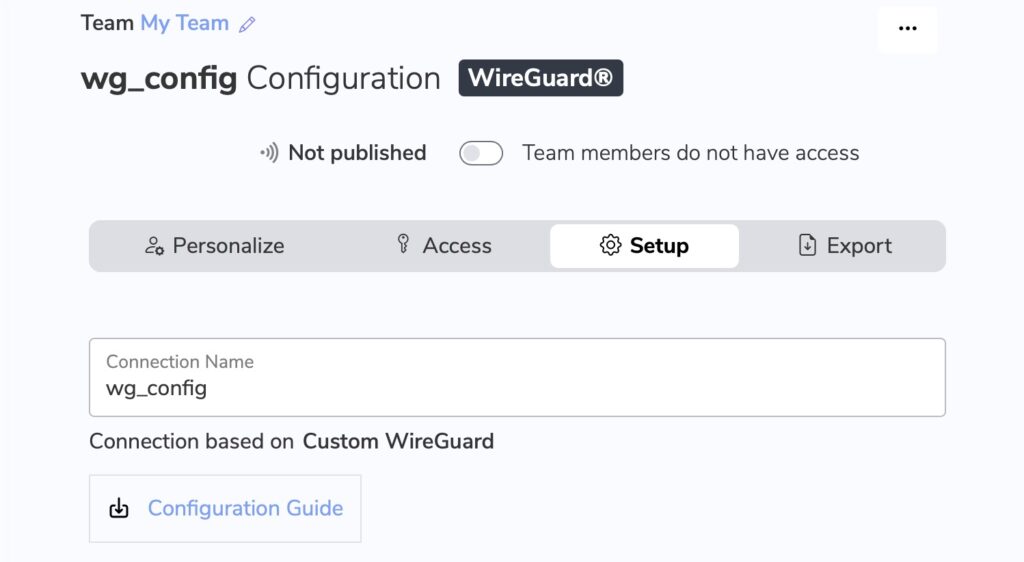
- Change the name of the connection under setup
- Under Access: Choose "Select Members" and choose the member you want to deploy this connection to.
Note: Please remember that for WireGuard Connections you will need a separate connection for every member of your team
- When you're done, flip the Switch at the top of your connection next to "Not published" to publish your connections to the selected members of your team

All done!
Haven't invited members to your team yet? Check our FAQ for How to invite members to your VPN Tracker team