Follow this guide to quickly set up your Securepoint VPN client for IPSec on a Securepoint NextGen UTM Firewall. We cover VPN gateway configuration, user authentication, firewall rules, and connecting from Mac or iOS devices using VPN Tracker 365.
Securepoint VPN Client Setup: Guide Overview
- About Securepoint NextGen UTM Firewall
- Requirements & Checklist for Securepoint VPN Client Setup
- Step 1: Configure VPN Gateway on Securepoint UTM
- Step 2: Set Up User Authentication
- Step 3: Configure VPN Tracker 365 Client
About Securepoint NextGen UTM Firewall
The Securepoint NextGen UTM firewall provides enterprise-level network security with built-in IPSec VPN support. Using a Securepoint VPN client, remote users can securely access your network without complex setup, making it ideal for small and medium businesses.

Requirements & Checklist for Securepoint VPN Client Setup
Before configuring your Securepoint VPN client, ensure you have the following ready:
- Public WAN IP or Dynamic DNS hostname
- Securepoint UTM connected to the internet
- Configured LAN network (check with your network administrator if unsure)
Configuration Checklist
- WAN IP / Hostname
- Pre-Shared Key
- VPN IP Pool
- Username
- Password
Step 1: Configure VPN Gateway on Securepoint UTM
1. Add a New VPN Connection
- Log in to the UTM web interface.
- Navigate to VPN > Connections.
- Click + Add to create a new VPN connection.
2. Select Connection Type
Choose Roadwarrior for individual remote users of the Securepoint VPN client.
3. Configure General Settings
Enter a connection name, select IKEv1 or IKEv2, and use Pre-Shared Key authentication.
4. Define Network Settings
Set the VPN IP pool and specify internal networks accessible to VPN users.
Step 2: Set Up User Authentication
5. Create VPN User Groups
Create a group named "VPN_Users" and enable IPSec XAUTH authentication for the Securepoint VPN client.
6. Add VPN Users
Add users to the VPN group and securely store their credentials.
7. Configure Firewall Rules
Allow IPSec traffic and ensure Securepoint VPN client users can reach the required internal networks.
8. Apply Settings
Save the configuration, restart the VPN service, and verify the VPN gateway is active.
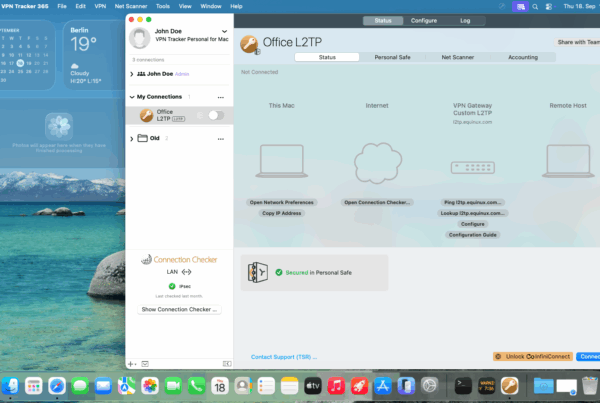
Step 3: Configure Securepoint VPN Client in VPN Tracker 365
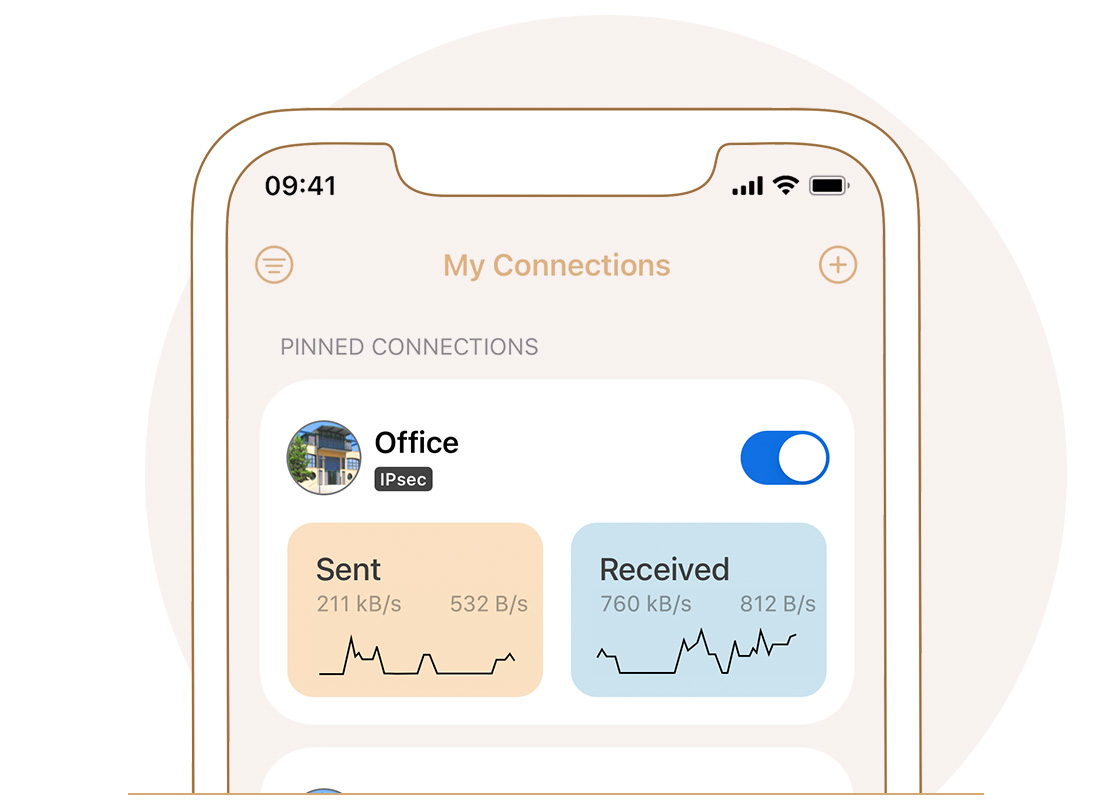
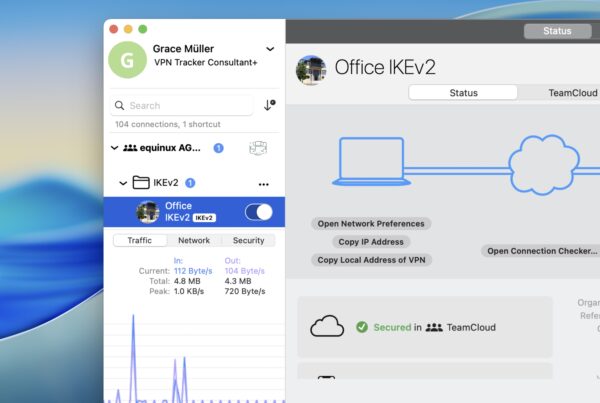
On Mac or iOS devices, you can configure your Securepoint VPN client using VPN Tracker 365:
9. Create a New VPN Connection
Open the VPN Tracker Connection Creator for Securepoint NextGen UTM Firewalls.
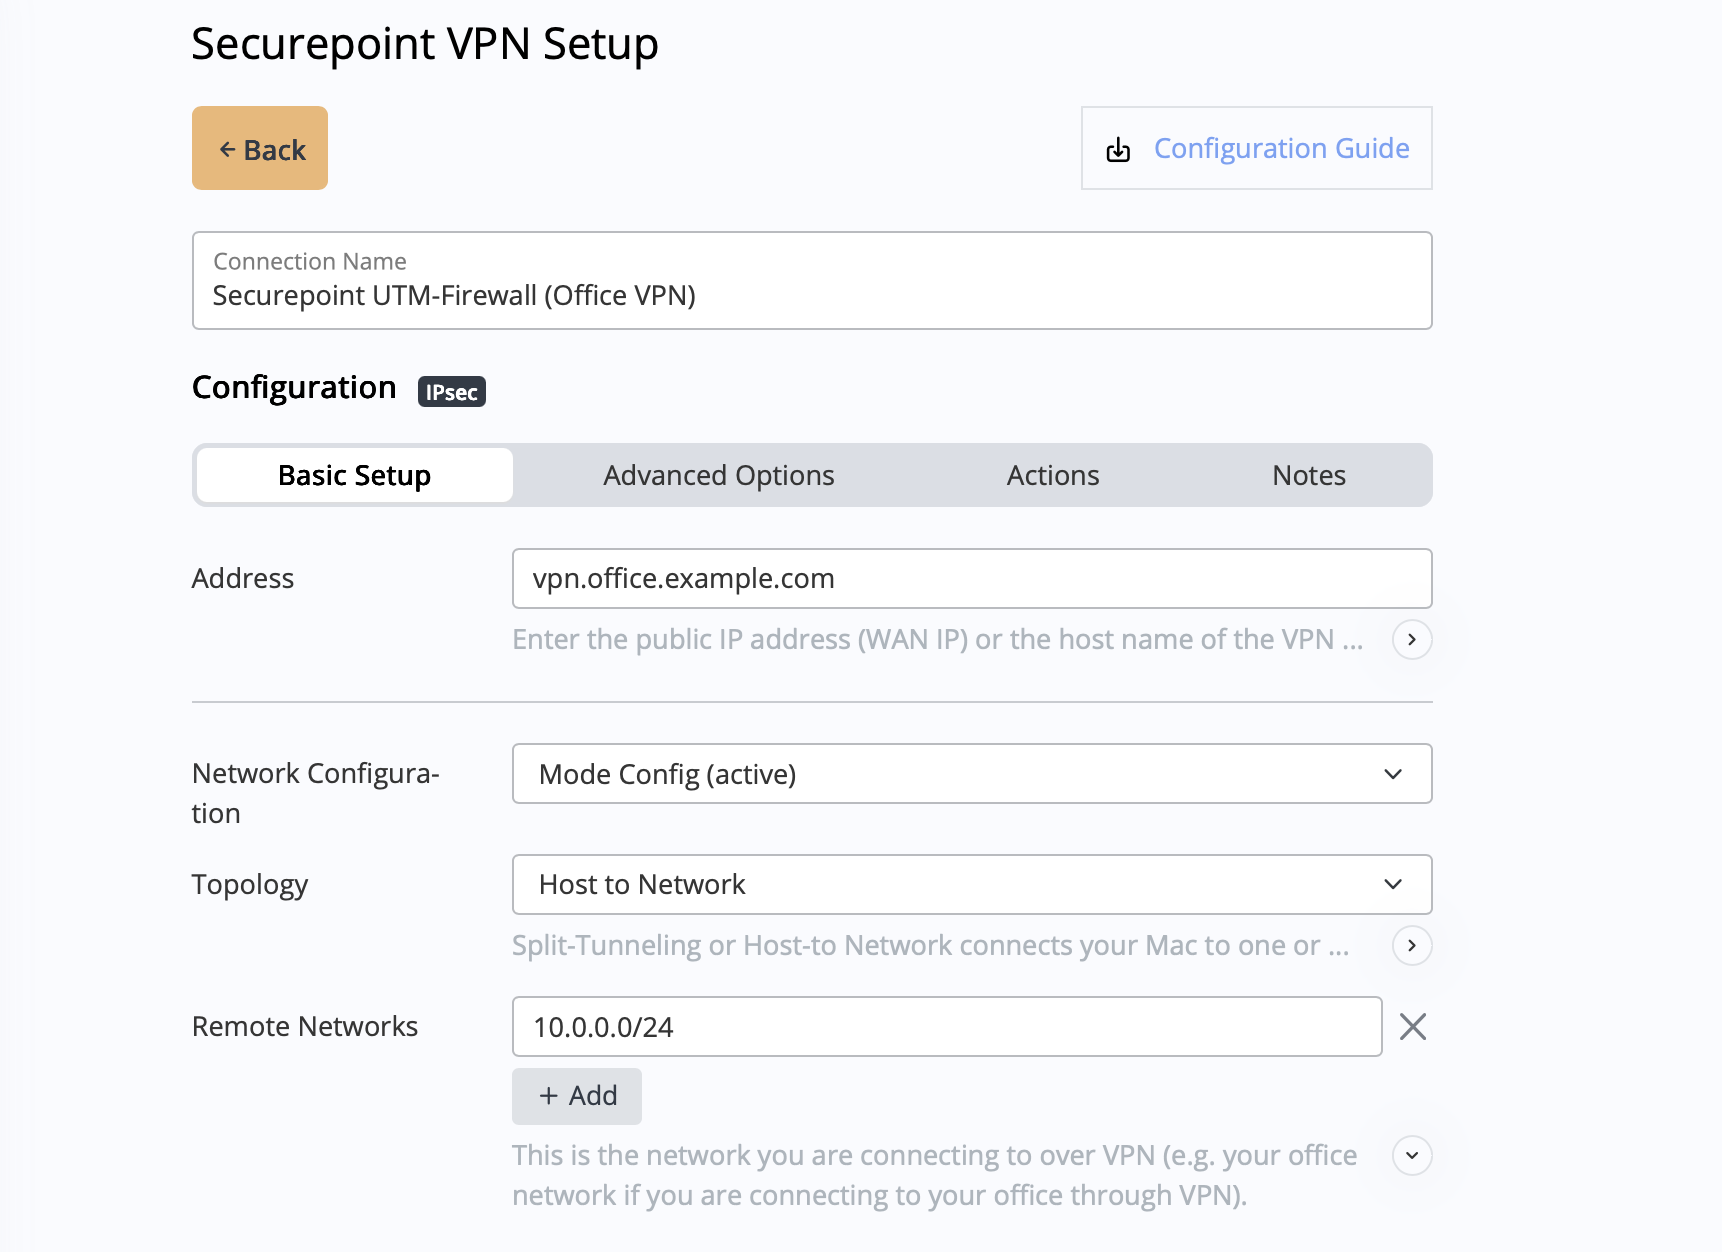
10. Configure Connection Parameters
- Address: Enter the VPN Gateway IP or hostname
- Remote Networks: Define the networks to access via VPN
- Authentication: Input the Pre-Shared Key and user credentials
Your Securepoint VPN client is now ready for Mac, iPhone, and iPad via VPN Tracker!
Connect to Securepoint VPN in VPN Tracker
- Secure remote access to your company network, home office, and Smart Home - all in one app
- Use your own VPN gateway
- Ready-made profiles for 300+ VPN devices, including Securepoint NextGen UTM Firewalls
- For Mac, iPhone, iPad