TP-Link Archer WiFi routers are a solid choice for home office and small business users. With strong WiFi performance and built-in support for TP Link OpenVPN, it’s easy to set up a secure VPN on your Archer router.
In this guide, we’ll show you how to configure TP Link OpenVPN on popular Archer models like the Archer A9. You’ll learn the key technical requirements and get step-by-step instructions to connect your Archer router with TP Link OpenVPN — plus how to use the connection on Mac, iPhone, and iPad.
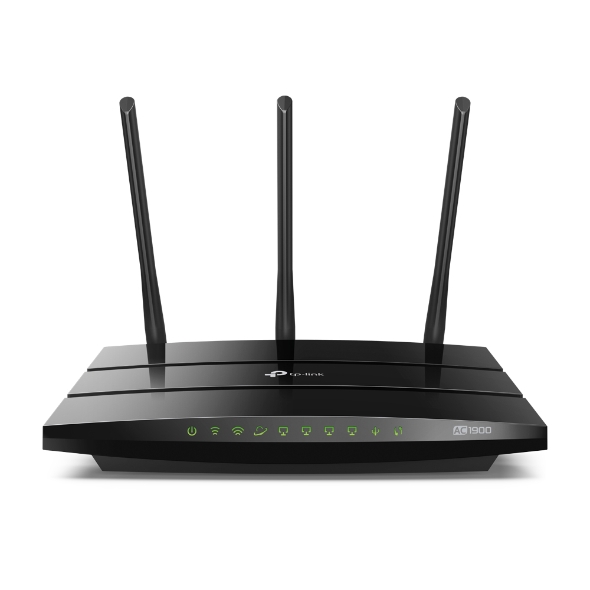
TP-Link Archer A9 Technical Specs
Series: TP-Link Archer WiFi Routers
Model: A9 (AC1900)
Supported VPN protocols: OpenVPN, PPTP
Suitable for: Home Office users
WiFi capability: Dual-Band
WiFi speed: 5 GHz: 1300 Mbps (802.11ac), 2.4 GHz: 600 Mbps (802.11n)
Archer A9 fully supports TP Link OpenVPN server configuration, making it ideal for home office VPN access.
How to Set Up OpenVPN on a TP-Link Archer Router
Setting up an OpenVPN server on your TP-Link Archer router is simple and can be completed in three steps.
Step one: Generate TP Link OpenVPN certificate
To get started, log into the web interface of your TP-Link Archer router. Then, switch to the Advanced tab and go to VPN Server > OpenVPN. Here you will see your OpenVPN configuration options.
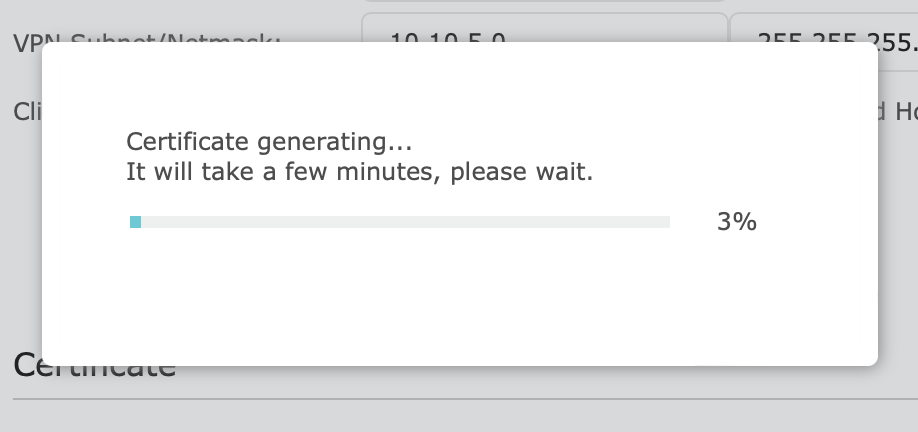
The first step is to generate the certificate for the TP Link OpenVPN server. Go to the section Certificate and click Generate:
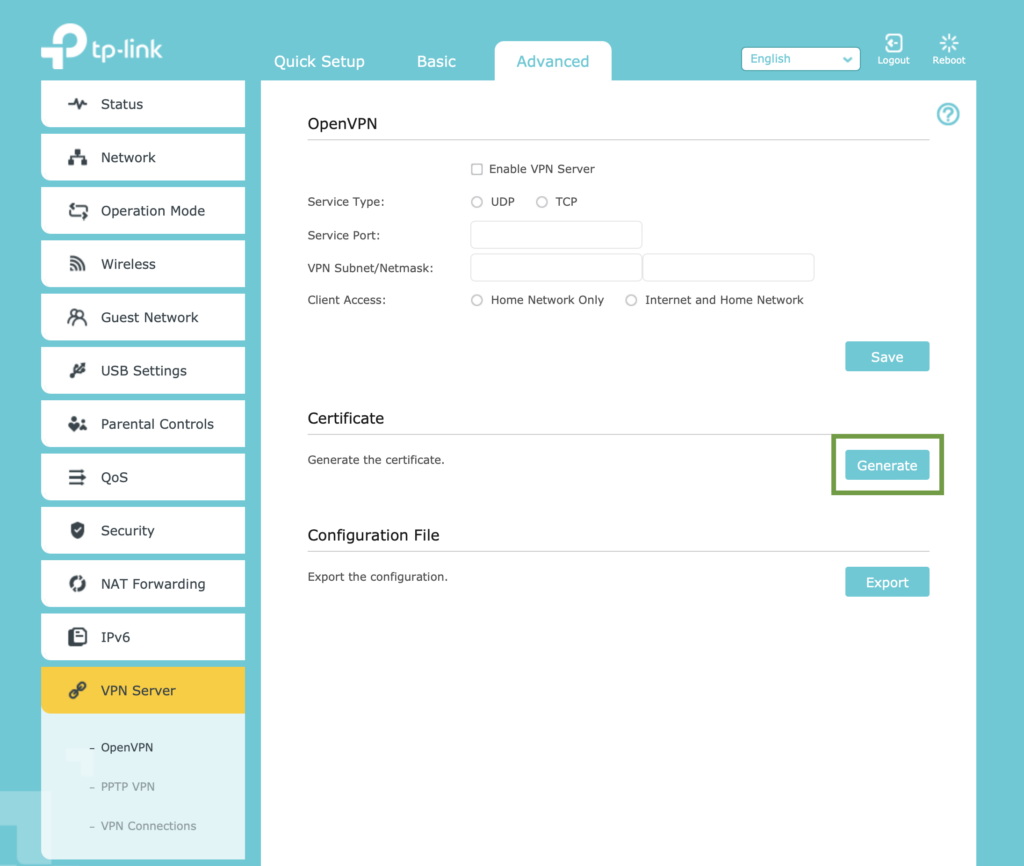
Generate the OpenVPN certificate
After a few minutes, your certificate will be generated and you can enable the OpenVPN server.
Step two: Enable the OpenVPN server on your TP-Link Archer
Check the box Enable VPN server to activate your TP Link OpenVPN server and fill in the required settings as shown in the screenshot, making sure to provide the subnet you are using for the VPN.
Click to save your settings:

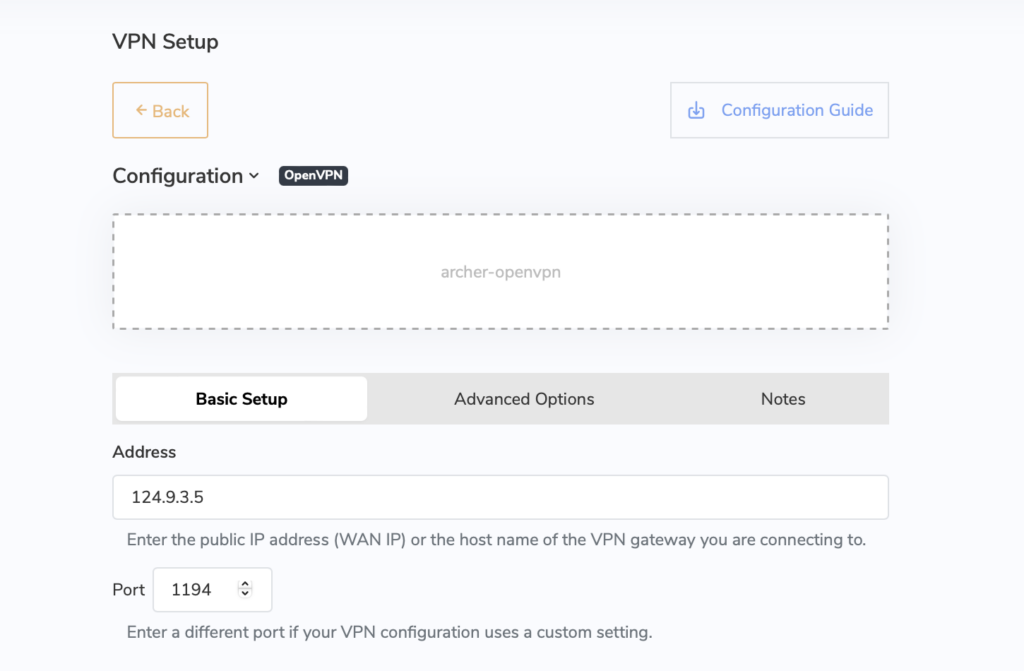
Step three: Export your configuration
Finally, export the configuration file for your TP Link OpenVPN Archer router and save it for use in your VPN client:

Step four (optional): Set up Dynamic DNS (DDNS) for OpenVPN
If you don't have a permanent, static IP address from your ISP (internet service provider), we recommend setting up Dynamic DNS (DDNS). This will ensure that your TP Link OpenVPN connection stays accessible.
What is Dynamic DNS?
DDNS is a service that automatically updates DNS records whenever your dynamic IP address updates. For many (e.g. home or small business users), it's a convenient alternative to registering for a fixed IP address, which can often be expensive.
Especially when setting up a VPN server, it's a low-effort way to ensure your IP address will always be updated, meaning you don't have to manually update the connection whenever your IP address changes – which can be anything from every few days to every few months. Learn more →
To configure DDNS on your TP-Link Archer, stay in the Advanced tab and go to Network > Dynamic DNS.
Here you will see the DDNS services supported by your router (e.g. NO-IP or DynDNS), you also have the opportunity to use TP-Link's own Dynamic DNS service. If you already have an account, enter your login details in this view:
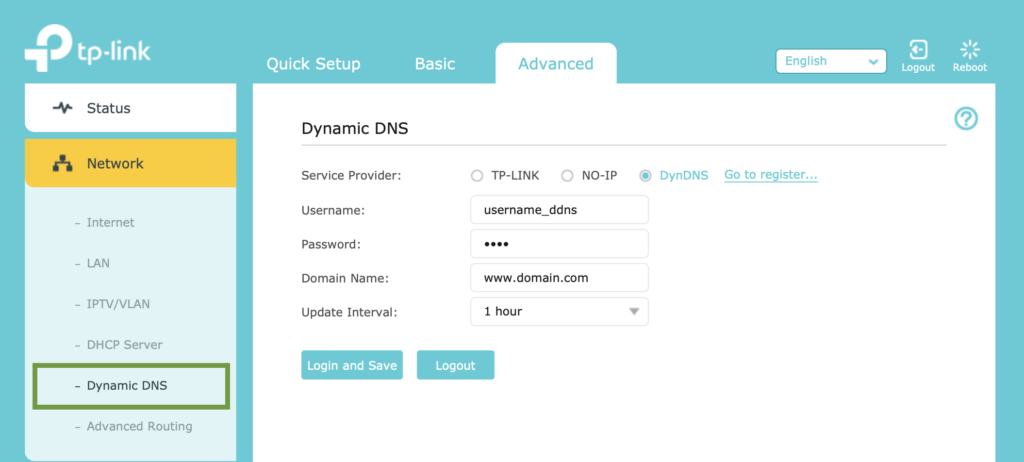
Log in with your DDNS credentials
Alternatively, click the link to set up an account with one of the supported providers:

Once you have completed the VPN setup on your TP-Link Archer router, you can go ahead and get connected on your Mac, iPhone or iPad.
Connect to Your TP Link Archer OpenVPN on Mac, iPhone, and iPad
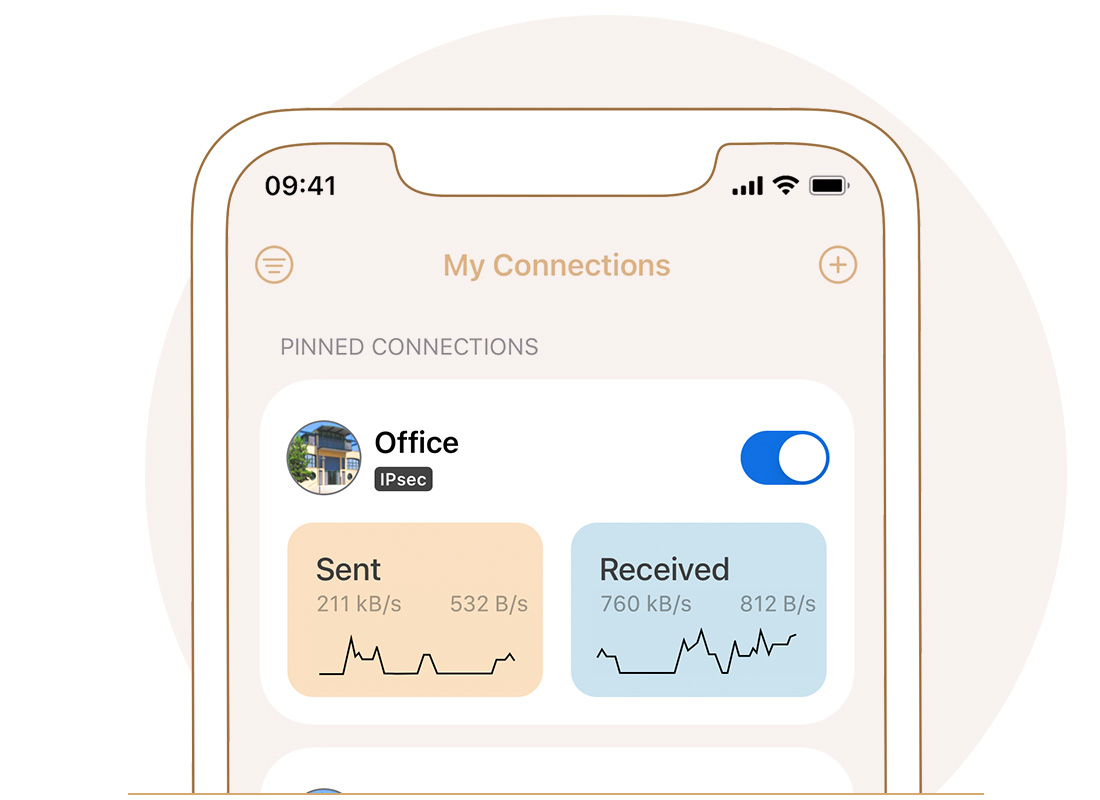
In order to connect to your TP-Link via OpenVPN, you will need a VPN client. VPN Tracker is the best VPN client for Mac, iPhone and iPad and fully supports TP Link OpenVPN connections to TP-Link Archer devices – get connected in seconds.
Carry out the following steps:
- Open the VPN Tracker connection creator for TP-Link Archer
- Upload the TP Link OpenVPN configuration file you created on your device to import your connection settings
- Save your connection in your VPN Tracker account using secure end-to-end encryption for easy access on Mac, iPhone or iPad
Upload your .ovpn configuration file to import your connection settings
Your VPN Tracker benefits
- Secure remote access to your company network, home office, and Smart Home - all in one app
- Use your own VPN gateway
-
Ready-made profiles for 300+ VPN devices
- Configuration wizard for a smooth and fast setup
- For Mac, iPhone, iPad
- Discover all features