About Ubiquiti UniFi devices
The Ubiquiti UniFi system covers a range of powerful yet affordable network management devices, suitable for home office users up to small-medium sized businesses.
On this page, you can find the key specification for some of the most popular UniFi devices: UniFi Dream Machine, UniFi Dream Machine Pro, UniFi Dream Router, and UniFi Express, as well as step by step information on how to set up a VPN server on your UniFi device.
Choose your VPN protocol:
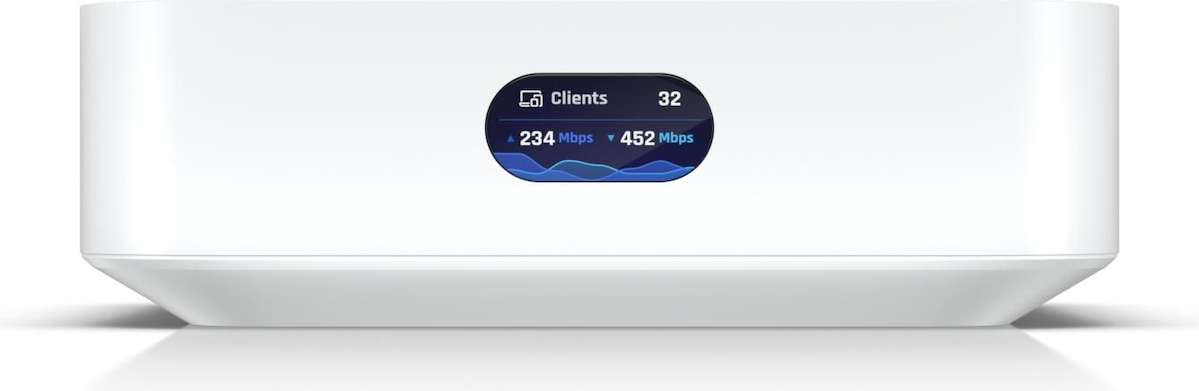
UniFi Express – Technical Specification
Series: Ubiquiti UniFi
Model: Express (UX)
Recommended for: Small-Medium Business
Supported VPN Protocols: L2TP, OpenVPN, WireGuard
Built in WiFi: Yes
Key Features: Built in WiFi 6 AP, 60+ connected WiFi devices, uses UniFi Network 8.0.7 or later
Device Status: Active
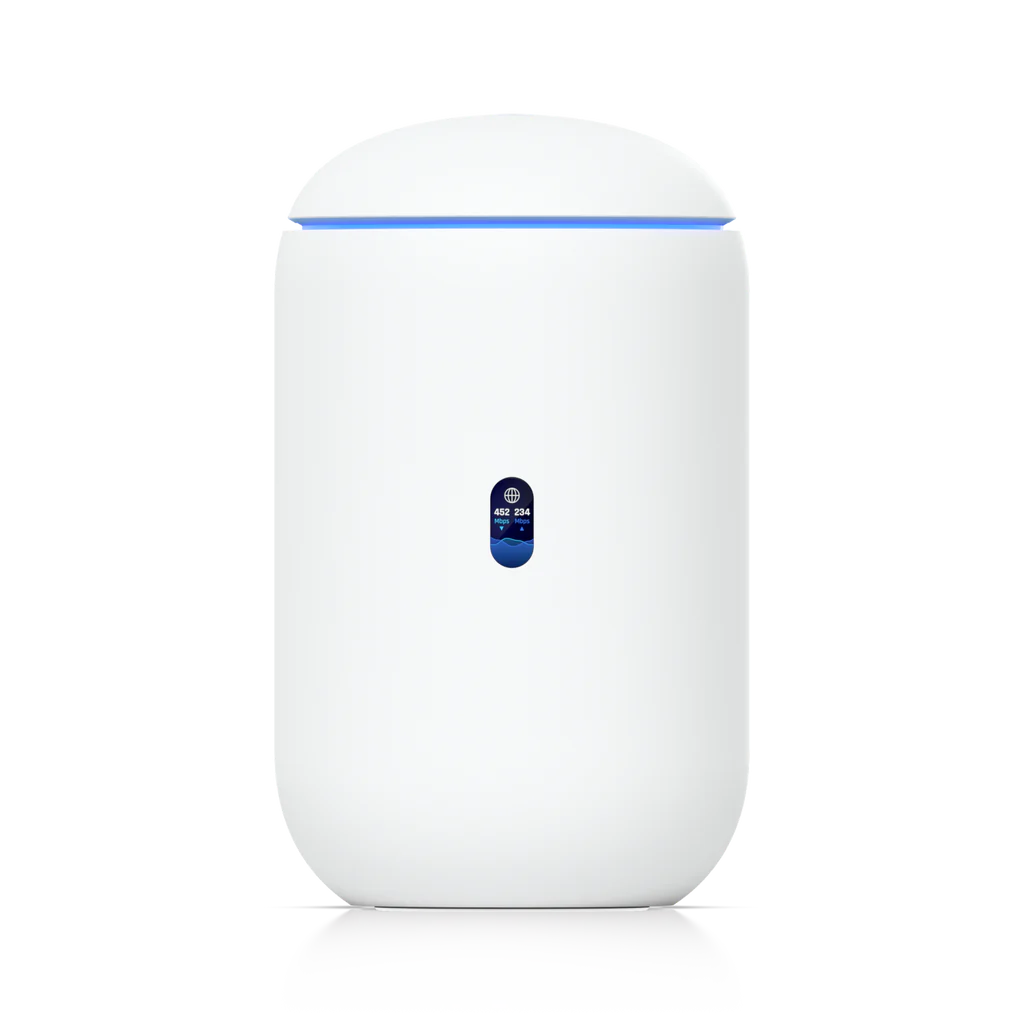
Dream Router – Technical Specification
Series: Ubiquiti UniFi
Model: Dream Router (UDR)
Recommended for: Home Office / Small Business (5 - 20 users)
Supported VPN Protocols: L2TP, OpenVPN, WireGuard
Built in WiFi: Yes
Key Features: WiFi 6, Dual-core Arm® Cortex® A53 processor at 1.35 GHz, PoE
Device Status: Active
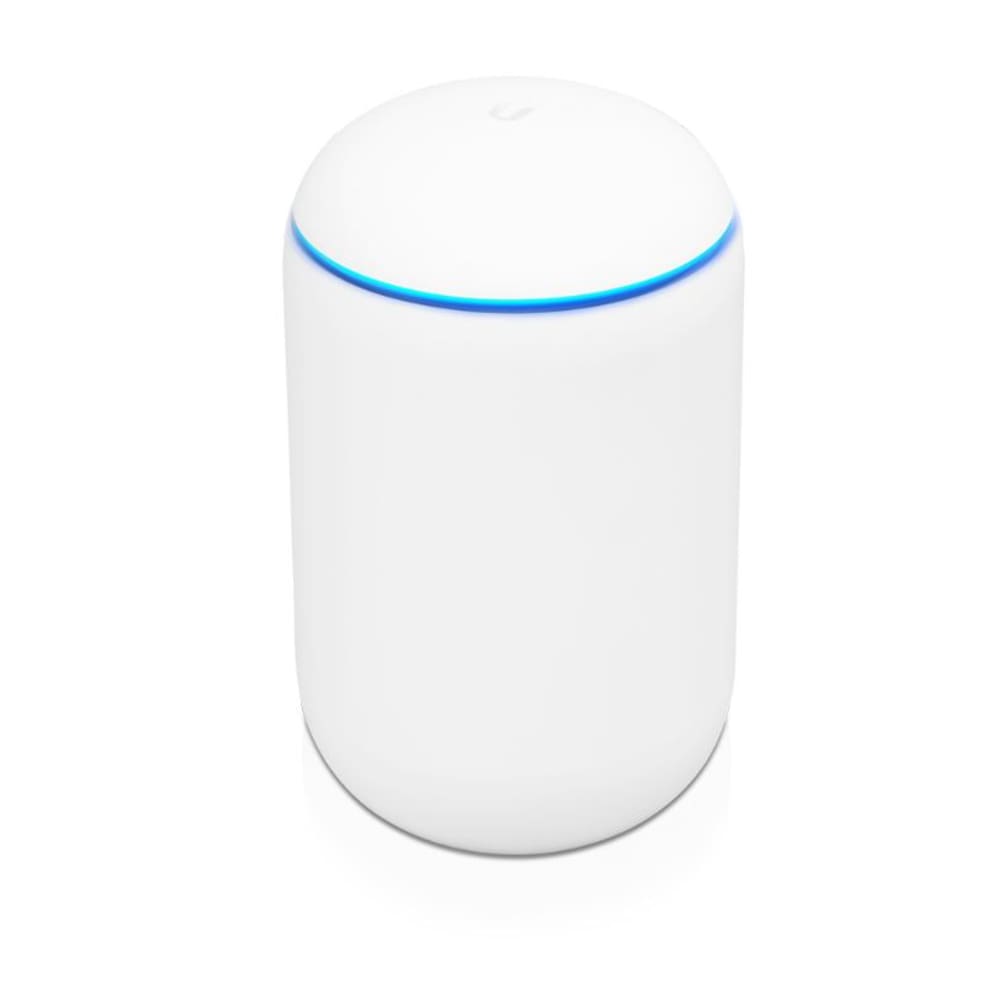
Dream Machine – Technical Specification
Series: Ubiquiti UniFi
Model: Dream Machine (UDM)
Recommended for: Home Office / Small Business (5 - 20 users)
Supported VPN Protocols: L2TP, OpenVPN, WireGuard
Built in WiFi: Yes
Key Features: WiFi 5, ARM Cortex A57 quad-core processor
Device Status: Active
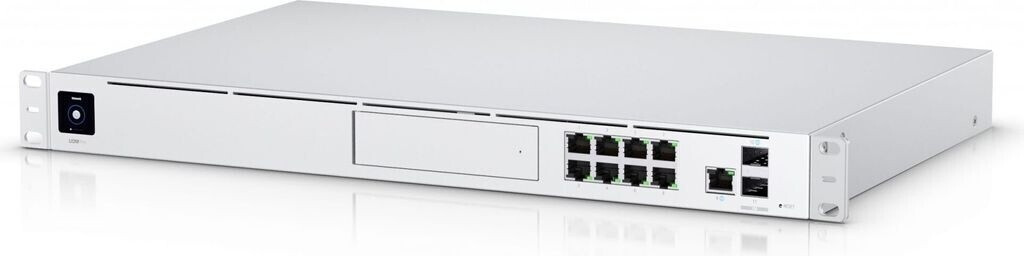
Dream Machine Pro – Technical Specification
Series: Ubiquiti UniFi
Model: Dream Machine Pro (UDM-PRO)
Recommended for: Small to Medium Business (60 - 200 users)
Supported VPN Protocols: L2TP, OpenVPN, WireGuard
Built in WiFi: No
Key Features: Firewall, 1,7 GHz ARM Cortex-A57 Processor
Device Status: Active
Configure VPN on a UniFi Router
Configuring a VPN server requires a public IP address which you can obtain from your ISP. For private users, a static IP address usually comes at an extra cost, however, if you have a dynamic IP address, setting up a Dynamic DNS hostname is another easy option which is often available free of charge. Find out more.
This guide assumes that your UniFi device has internet access and that a LAN network has already been configured.
Configuration of the device is done entirely using the “UniFi Controller” software. This guide applies to UniFi Controller versions 7.0.23 or newer.
Configuration checklist
Throughout this guide, certain connection information is referenced which you will need to set up the VPN in your VPN client software. Please refer to this list:
- IP address or host name of your UniFi device* (find this under Settings > Internet)
- Pre-shared Key
- Account Name (i.e. username)
- Password
*Note: If your UniFi is behind another router and not establishing a connection directly, you'll need to reference the WAN IP of that device.
Option One: L2TP VPN for UniFi
Follow this guide to configure an L2TP VPN server on your UniFi device and connect remotely on your Mac in VPN Tracker.
Step One: Enable L2TP VPN server
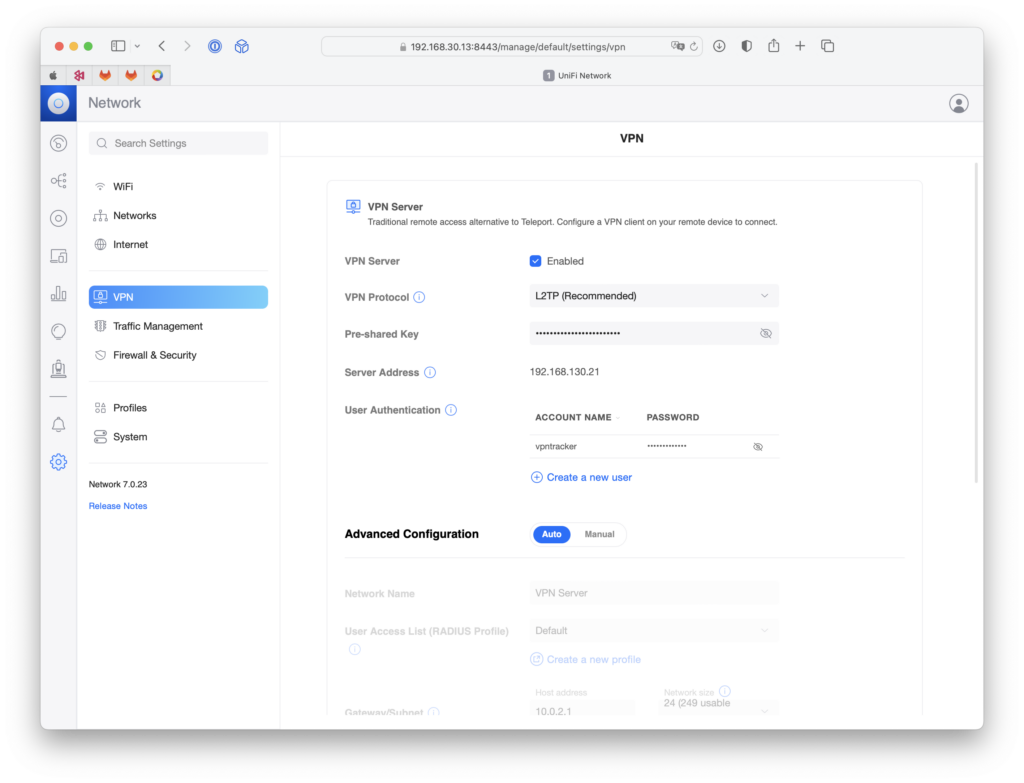
- Go to Settings > VPN (also referred to as Teleport & VPN on compatible devices) > VPN Server and check to enable the VPN Server
- For VPN Protocol, select L2TP from the dropdown menu
- Enter a Pre-Shared Key (this will be the password for your new connection)
- Server Address: Enter the network address the VPN server will use (e.g. 192.168.130.21) Please ensure this is a network range which is not already in use!
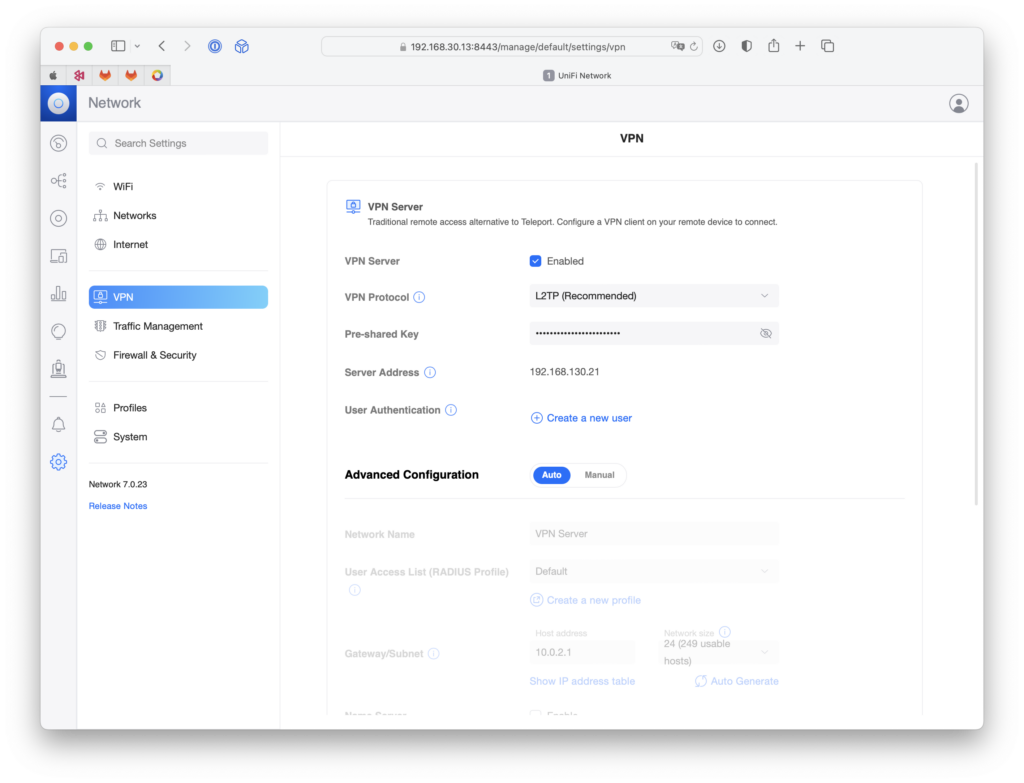
Check to enable the L2TP VPN server
Step Two: Add a new user
- By User Authentication, click the + to Create a new user
- Enter a new Account Name (e.g. vpntracker) and Password - keep note of these credentials, as you will need them to access your connection in the VPN client
Create a new VPN user
Step Three: Advanced Configuration (optional)
Users have the option to manually configure connections settings for your VPN (e.g. network size, DNS search domains.) Please note, any manual changes will also need to be reflected in the VPN client configuration.
If you would prefer to keep to the standard settings of your UniFi device, you can remain in the Auto configuration tab and skip this step.
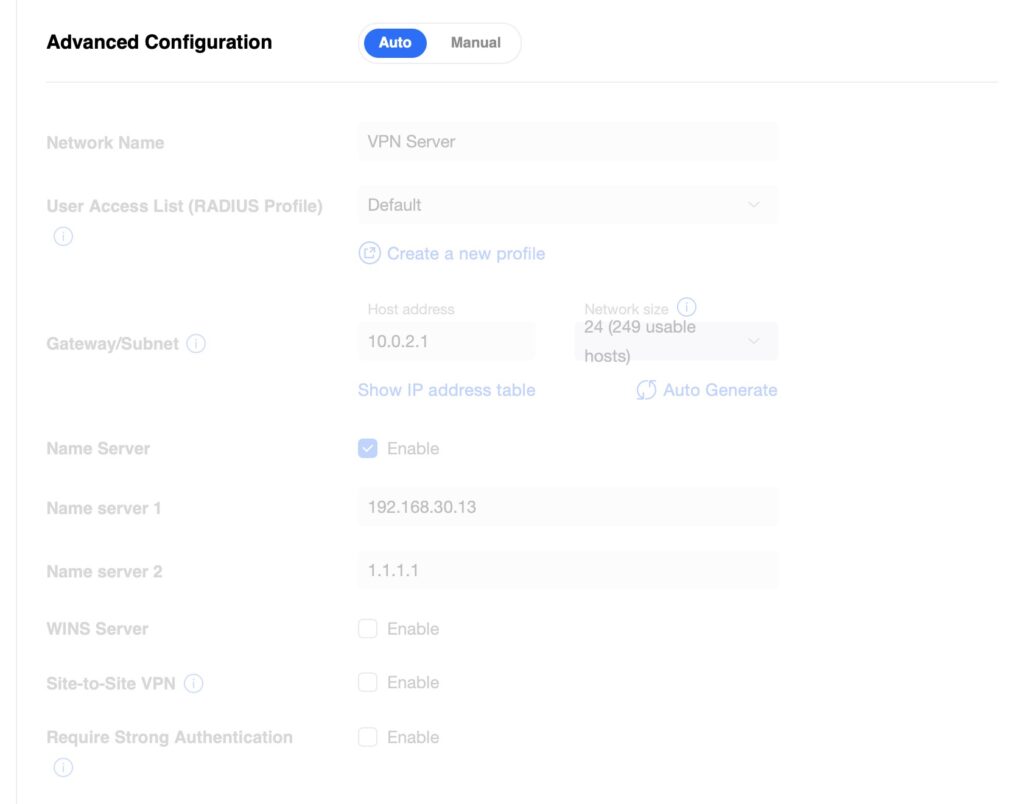
Stick to Auto Configuration if you don't wish to add custom connection settings
- Under Advanced Configuration, switch to the Manual tab
- Gateway/subnet: Here you can determine the network size for your new VPN server
- Name server: Specify private and public DNS servers
- Click Apply changes when finished to complete the setup
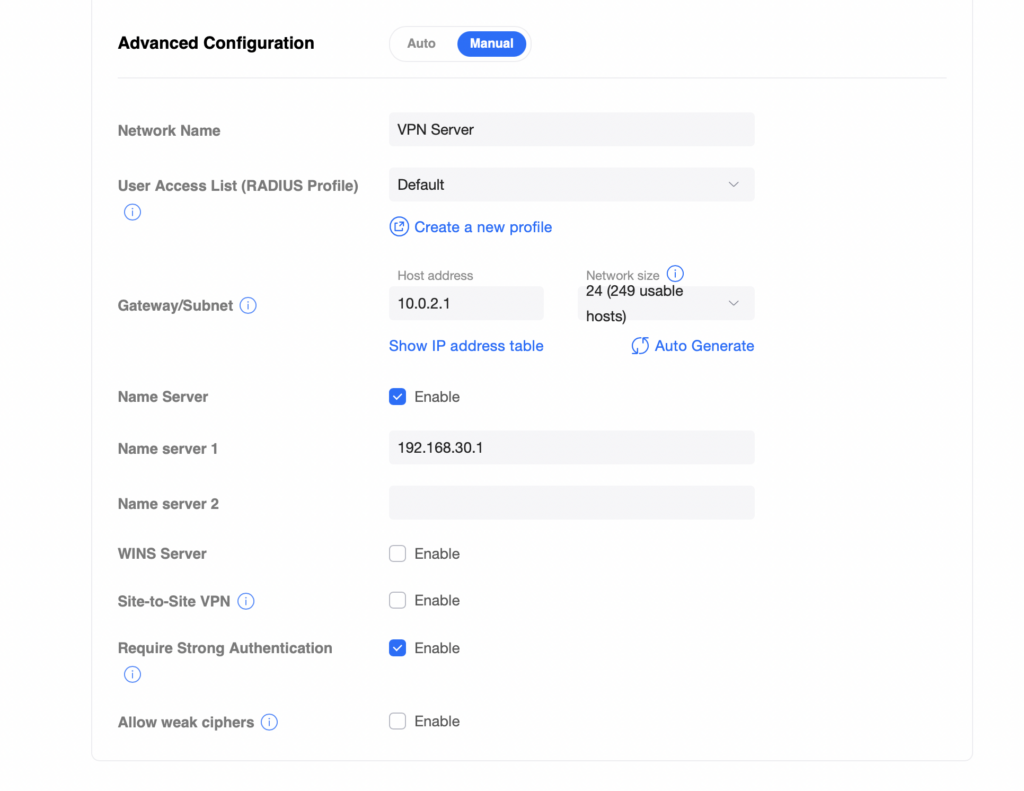
Configure advanced VPN server settings
Connect to your new UniFi L2TP VPN Server
In order to connect to the new UniFi L2TP VPN server and get secure remote access to your UniFi device, you will need a VPN client.
VPN Tracker for Mac supports UniFi L2TP VPN connections on macOS 10.13 (High Sierra) and newer!
UniFi VPN configuration assistant:
The VPN Tracker step-by-step configuration wizard for UniFi VPN helps you get connected to your UniFi device in seconds. Here's how to get started:
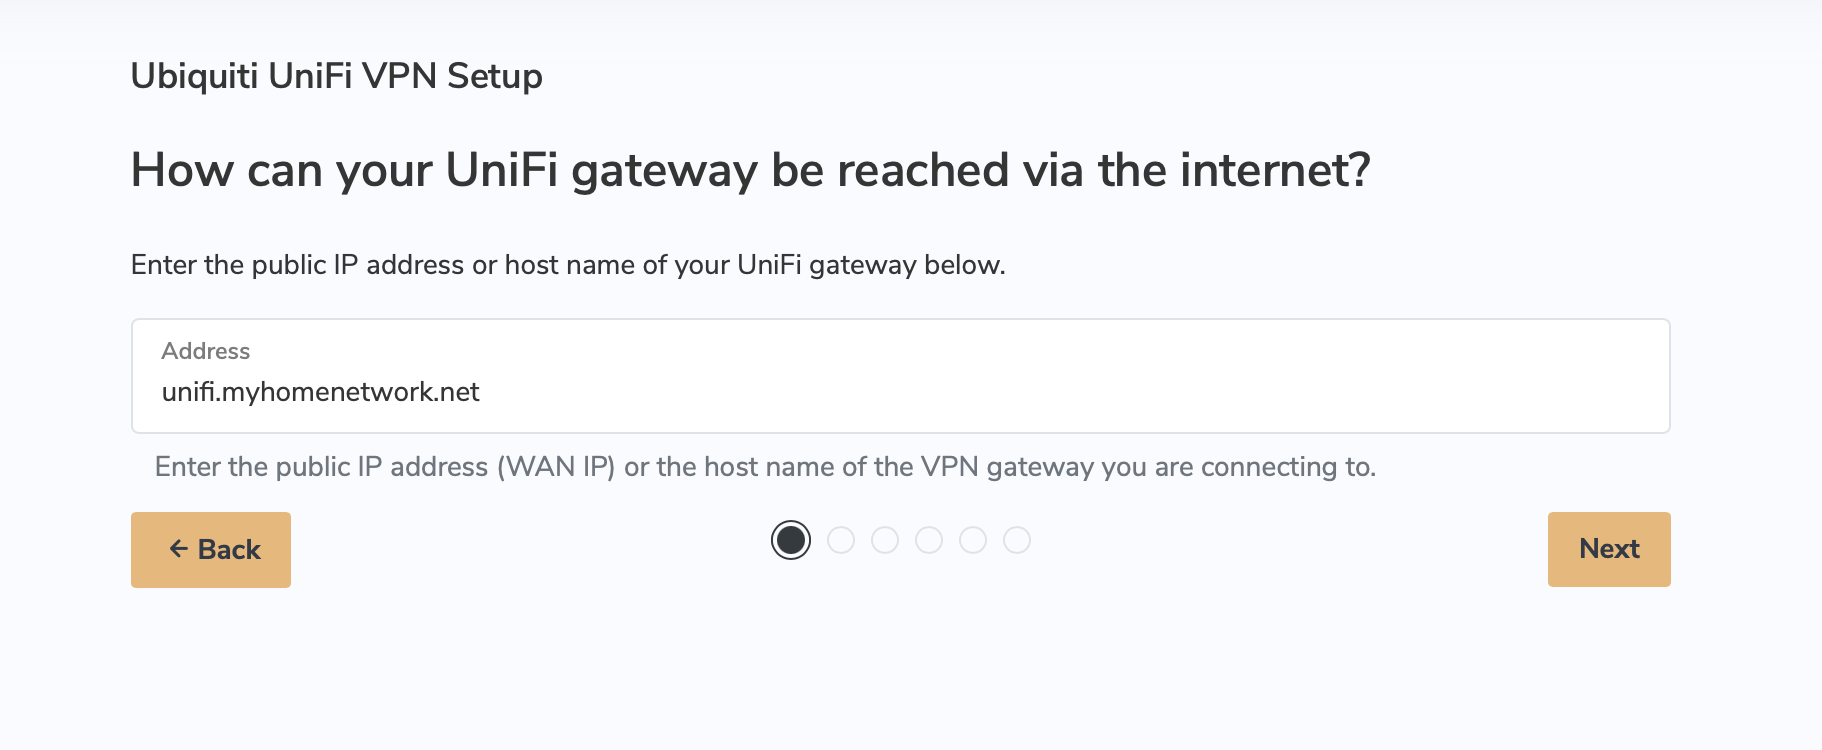
- Open the VPN Tracker L2TP VPN configuration assistant for UniFi
- Enter your UniFi device’s Public IP Address or Host Name (1)
- Follow the steps and enter the remaining information from your configuration checklist
- Click Done once you’re finished to securely save the new connection to your account
You can now connect to your UniFi via L2TP VPN on Mac!
Option 2: WireGuard VPN for UniFi
WireGuard® VPN is an easy to set up option for users in need of fast VPN access. Follow this guide to set up WireGuard VPN server for UniFi and connect on Mac, iPhone and iPad in VPN Tracker.
Setup guide
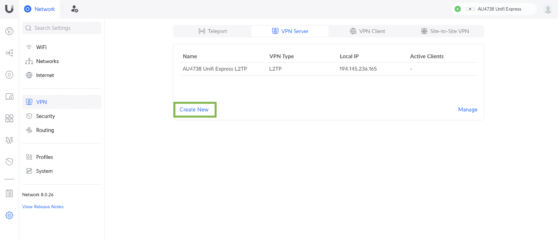
Log in to your UniFi device, then go to Settings > VPN and switch to the VPN Server tab. Click Create New to set up a new VPN server:
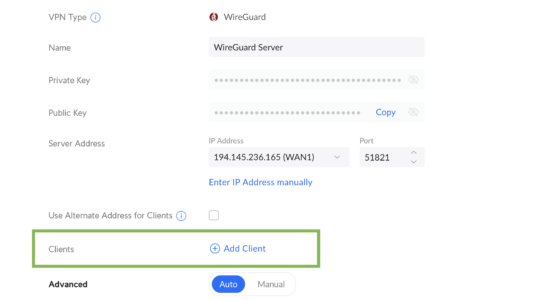
Choose WireGuard as your connection type, then give your connection a name. Your server details will be automatically generated for you.
Under Clients, click + Add Client to access your WireGuard configuration file:
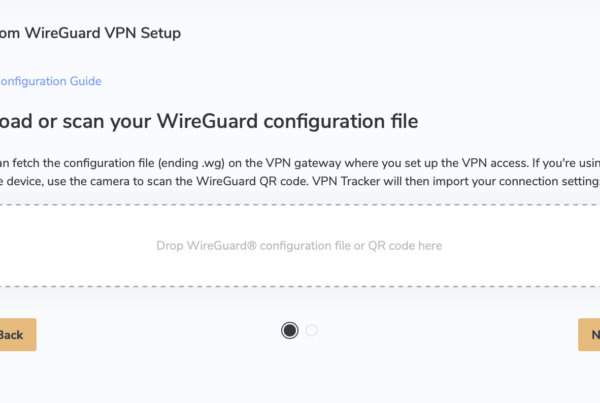
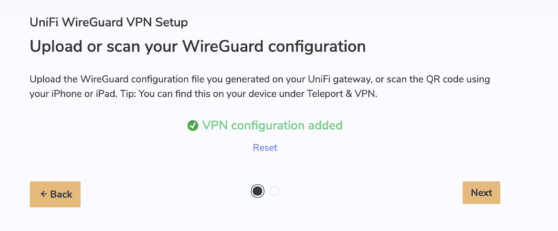
Open the VPN Tracker WireGuard Connection Creator for UniFi. You will now be asked to upload your configuration file:
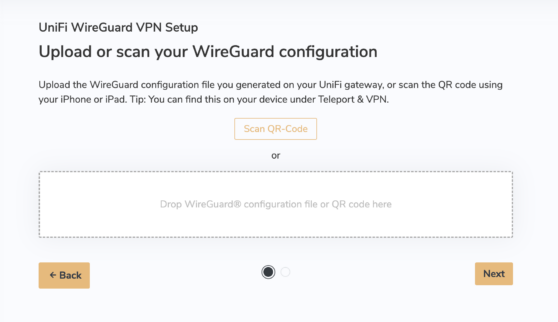
Click to download the VPN configuration file and upload it to VPN Tracker, or use the camera on your iPhone or iPad to scan the QR code.
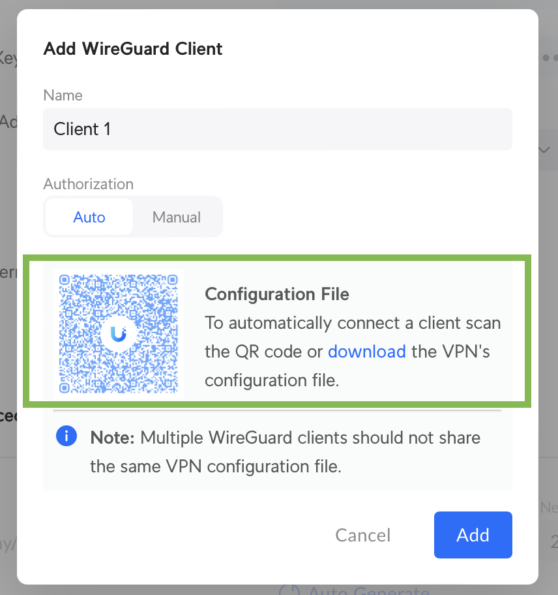
Your UniFi VPN configuration will be imported via the WireGuard file:
Once you've scanned / downloaded your file, remember to go back to your UniFi device and click Add to add the new client, then save your new configuration by clicking Apply.
Finally, click Next to complete the setup process and save the connection securely in your account for access on Mac, iPhone and iPad in VPN Tracker.
Important note for NAT firewall users
If your UniFi USG or UDM is behind a NAT firewall (e.g., an upstream internet router), you must forward UDP port (e.g., 51820) to the internal IP of the USG/UDM. In addition, you need to specify a public IP address or FQDN (e.g., vpn.example.com).
To do this, go to:
Settings → VPN → WireGuard VPN → Advanced
→ “User Alternative Address for Clients”
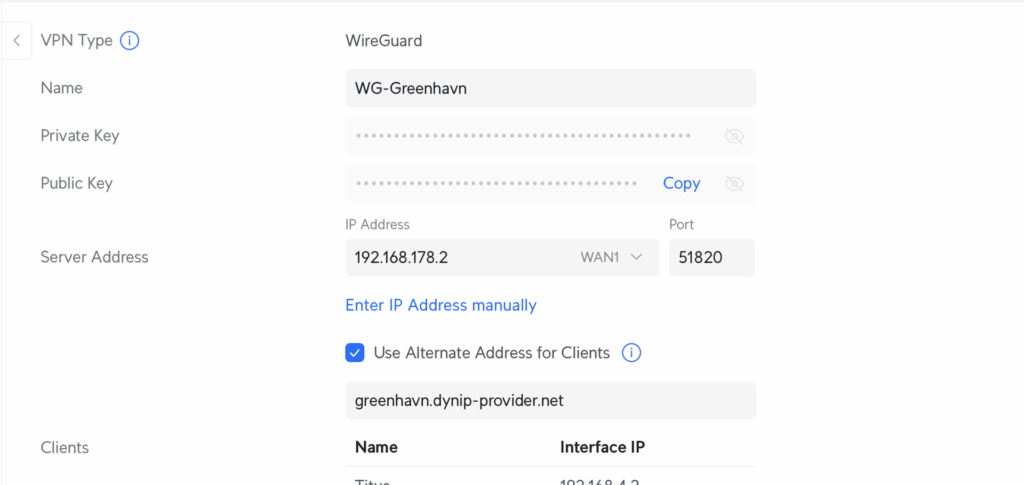
This value will be automatically used as the Endpoint in the client configuration.
Tip: If your public IP is dynamic, use a Dynamic DNS service to ensure continuous connectivity for external clients.
Option 3: OpenVPN for UniFi
OpenVPN is another popular VPN protocol, thanks to its easy setup. Although WireGuard is much faster, OpenVPN has been around for longer so may be a more likely choice for some business users.
Here's how to connect to your UniFi device via OpenVPN...
Setup guide
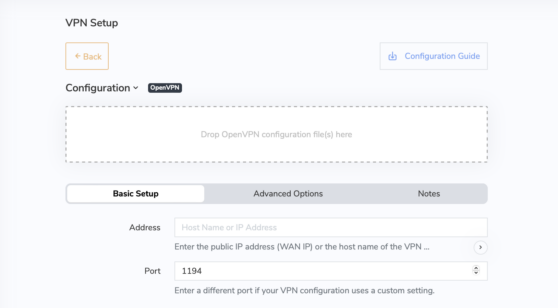
Log in to your UniFi device, then go to Settings > VPN and switch to the VPN Server tab. Click Create New to set up a new VPN server:
Choose OpenVPN as your connection type, then add a new VPN User to generate your .ovpn configuration file.
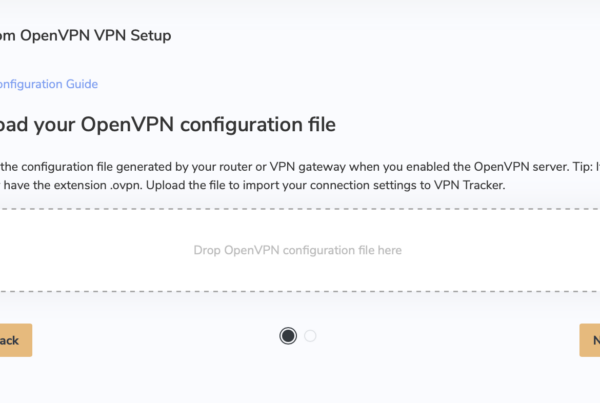
Now, open the VPN Tracker OpenVPN Connection Creator for UniFi. Here you will be prompted to upload the configuration file you downloaded from your UniFi gateway:
Once you've uploaded your configuration file, your UniFi gateway settings will be automatically imported.
Now, all that's left to do is save your configuration in your account using secure end-to-end encryption and connect to your UniFi on your Mac, iPhone or iPad in VPN Tracker!