VPN Tracker enables you to create a secure IKEv1 IPsec VPN connection to your VPN gateway so you can enjoy remote access to your network wherever you are.
VPN Tracker's custom IPsec VPN profile gives you the flexibility to configure your connection exactly as you need it. Follow these steps to create an IKEv1 connection on Mac, iPhone and iPad.
How to set up IKEv1 IPSec VPN
General IKEv1 IPSec VPN configuration tips
If your VPN gateway’s manual has instructions for setting up a VPN connection, follow those. Otherwise, please follow these basic settings as closely as possible:
- Choose Pre-shared Key as your authentication method and keep a note of the secure password you choose
- Aggressive vs Main Mode: Both will work but for compatibility reasons, choose Aggressive Mode where possible
- Choose fully qualified domain name (FQDN) identifiers where possible – with most devices, you can enter any identifier you want, it doesn’t have to be a valid domain name. Good choices would be:
- Local identifier: vpngateway.local
- Remote identifier: vpntracker.local
- Phase 1 and Phase 2 settings: We recommend always opting for the strongest algorithms supported by your gateway. For example, VPN Tracker is compatible with AES up to AES-256 and supports Diffie Hellman up to group 18
- Network access: Most devices will require you to configure the network your users will have access to via your IKEv1 IPSec VPN. Usually this will be the gateway's LAN network (e.g. 192.168.142.0/24)
- Remote endpoint: Sometimes you will need to specify the address VPN clients will be using when connected through VPN. If possible, set this to “any address” or “dynamic” (some- times also referred to as “0.0.0.0/0”
- If your VPN gateway requires a single address to be entered, this will mean that only one VPN client can use this VPN connection at a time. In this case, take the address you configure on the VPN gateway, and enter it in VPN Tracker as the Local Address
Set up IKEv1 IPsec VPN on your device
If you need support setting up a specific device, check out some of our device-specific IKEv1 IPSec VPN configuration guides:
IPsec VPN must-haves
Before you start, make sure you have the following configuration information available for your gateway, as you will need to enter it into VPN Tracker.
You can find these values on the network overview page or VPN setup UI of your VPN gateway.
Needed for all IKEv1 connections:
- The public IP address or host name (e.g. “203.0.113.48” or “vpn.example.com”) of the VPN gateway you are connecting to
- Your Pre-shared Key or certificate for the connection
You may also need:
- Remote network address (if configuring split tunnelling for your VPN)
- Local address (i.e. if your gateway only allows one VPN client at a time)
- The local identifier (Some VPN gateways (e.g. Cisco) refer to the local identifier as “group name” or “group ID”)
- A user login and password (i.e. if XAUTH user authentication has been enabled)
- The settings for phase 1 and 2 (encryption algorithms, etc.)
Connect to IKEv1 IPsec VPN in VPN Tracker
To start setting up your IKEv1 IPsec VPN on Mac, iPhone or iPad, open the
VPN Tracker IPsec Connection Creator:
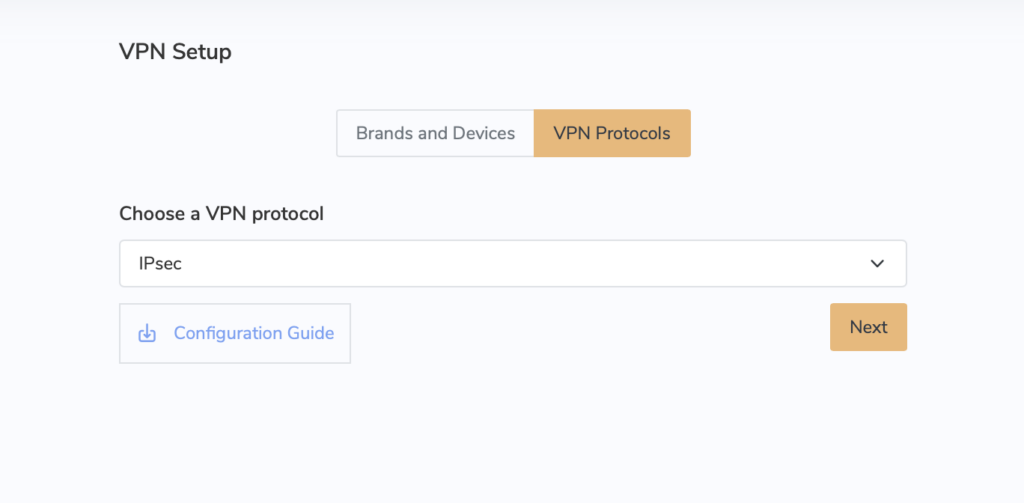
VPN Tracker IPsec Connection Creator for IKEv1 setup on Mac
You can now begin filling out the configuration options for your connection.
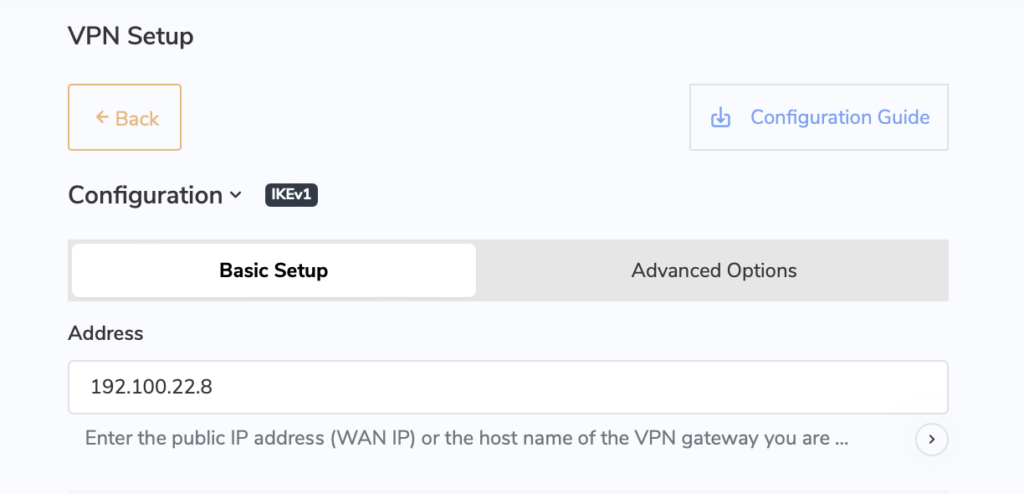
VPN gateway address (IKEv1 IPsec)
Enter the public IP address or hostname of the router, firewall, or VPN gateway you are connecting to via your IKEv1 IPsec VPN:
Remote networks (split tunneling)
By default, “Host to Network” is selected. This is the most appropriate network scenario for most setups and allows you to configure split tunneling and specify the network(s) you want to connect to via the IPsec VPN tunnel.
Enter the remote networks you wish to connect to and click the + to add more.
You can enter the addresses or networks in the following formats:
- As a single address, e.g. “192.168.10.4”,
- as a single remote network, e.g. “192.168.10.0” (VPN Tracker will use the most typical subnet),
- in CIDR notation, e.g. “192.168.10.0/24”,
- or with the full subnet, e.g. “192.168.10.0 / 255.255.255.0”, which VPN Tracker will convert to CIDR notation.
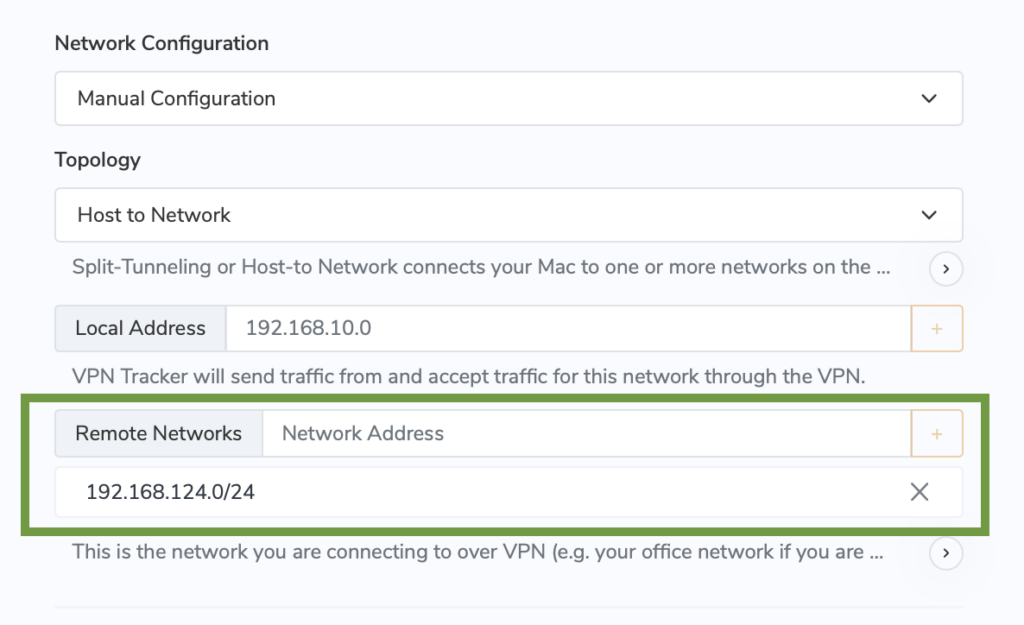
If required, you can enter a Local Address in the field provided (i.e. the remote endpoint mentioned in the configuration introduction).
Authentication (Pre shared Key)
Next, enter the Pre shared Key (PSK) you configured for the IKEv1 IPsec VPN connection and save it in your Keychain:
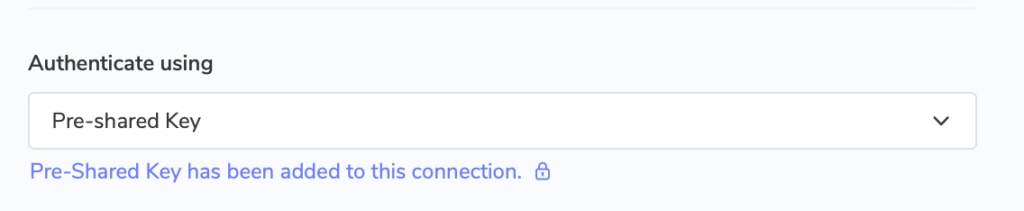
Please note: PSK authentication is selected by default. If your gateway uses certificates, select this via the dropdown and upload the certificate files in the field provided.
XAUTH user authentication (optional)
If your gateway requires per user credentials (common when multiple users connect), enable XAUTH and enter your login details, then save them in your Keychain:

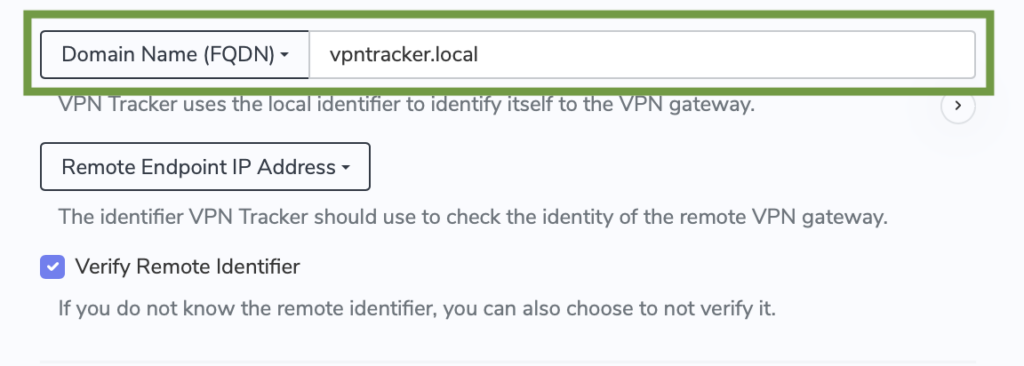
Identifiers (IPsec identifier)
Enter the remote identifier you configured on the VPN gateway as the local identifier in VPN Tracker (e.g. vpntracker.local) so the client can identify itself when building the IKEv1 IPsec connection. Many devices call this the IPsec identifier or group name.
By default, FQDN is selected as the local identifier type. Change this via the dropdown if your gateway is configured differently.
DNS settings (optional)
If you use a DNS server for your network, enable “Use Remote DNS Server” and either import settings from your VPN gateway or enter them manually:
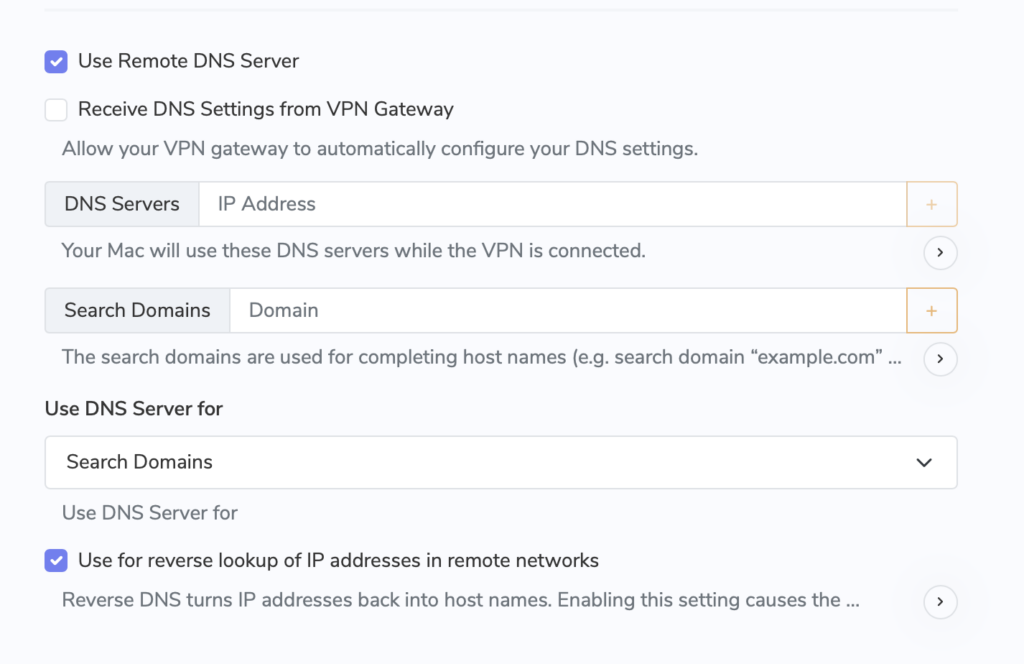
Configure DNS settings for IKEv1 IPsec VPN
Configure advanced IKEv1 IPsec settings
Use VPN Tracker’s Advanced tab to fine tune your IKEv1 IPsec VPN connection for maximum compatibility and security.
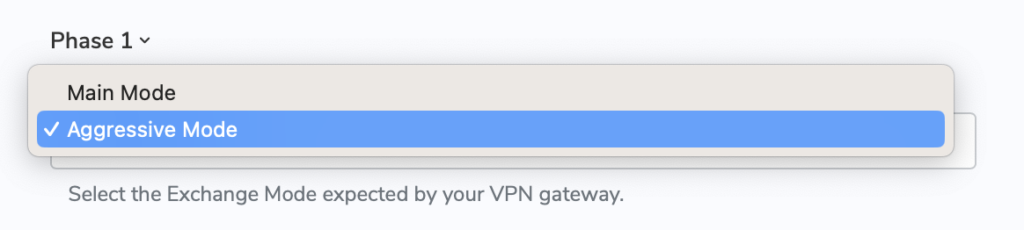
Phase 1 and Phase 2 settings
By default, VPN Tracker uses Aggressive Mode for Phase 1. If your gateway is set to Main Mode, change it via the dropdown so the IKEv1 IPsec handshake matches your device.
For Phase 1 and Phase 2 you can choose encryption and authentication algorithms. Select options that match your VPN gateway, for example AES including AES 256 and the required Diffie Hellman group.
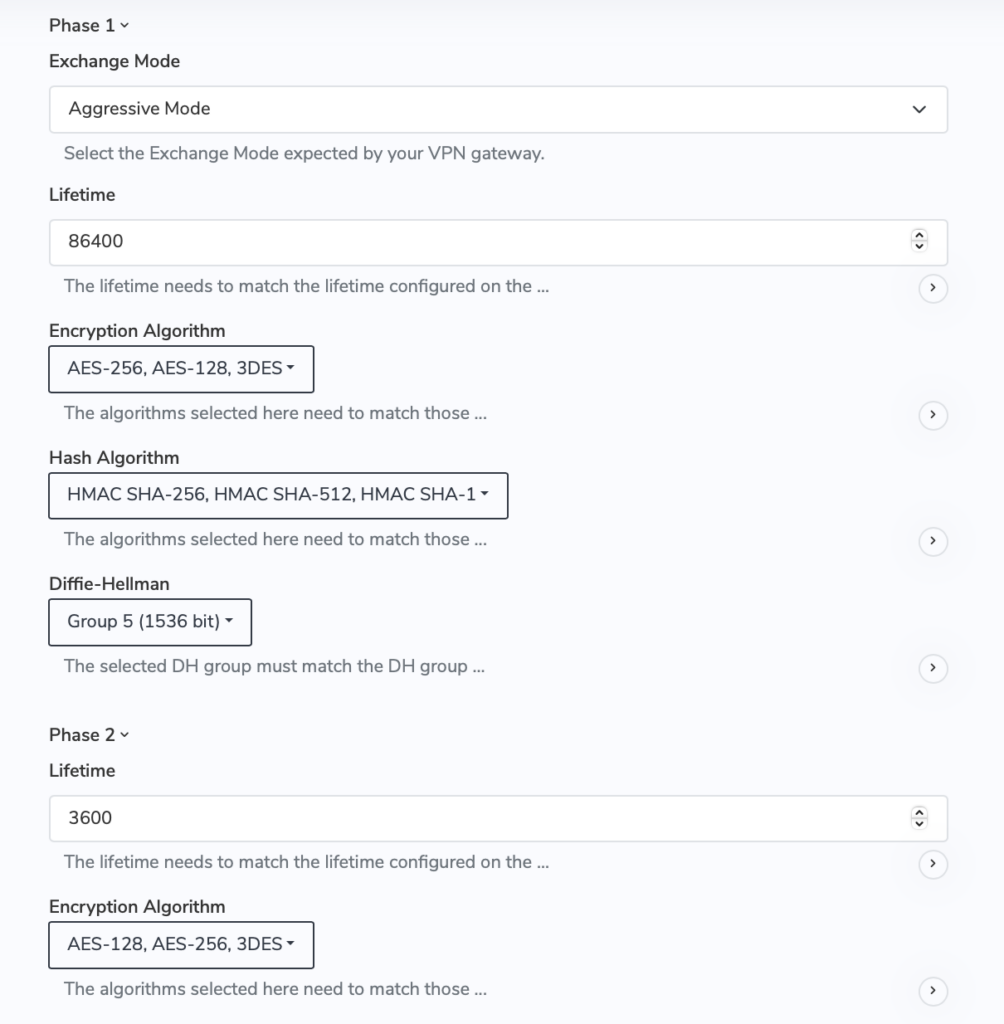
The settings you choose must exactly match your gateway for the IPsec VPN to connect successfully.
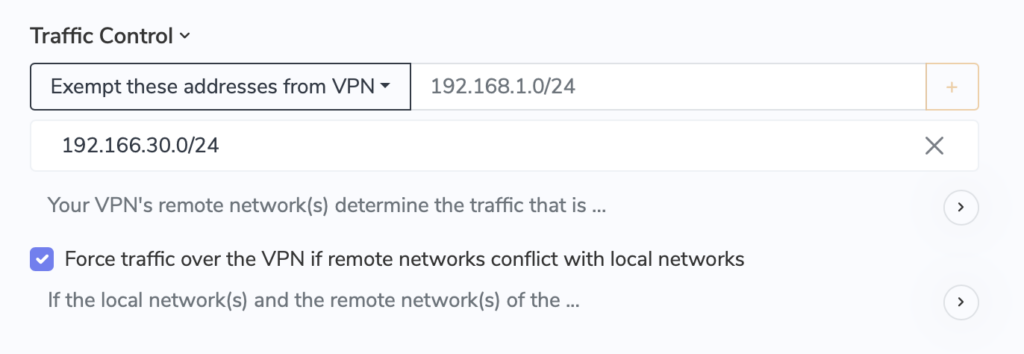
Traffic Control
Use Traffic Control to decide how much traffic is routed over the IPsec VPN. Configure split tunneling, exclude specific addresses, or create connection based rules for your Mac, iPhone or iPad.
Start using your new IKEv1 IPSec VPN connection
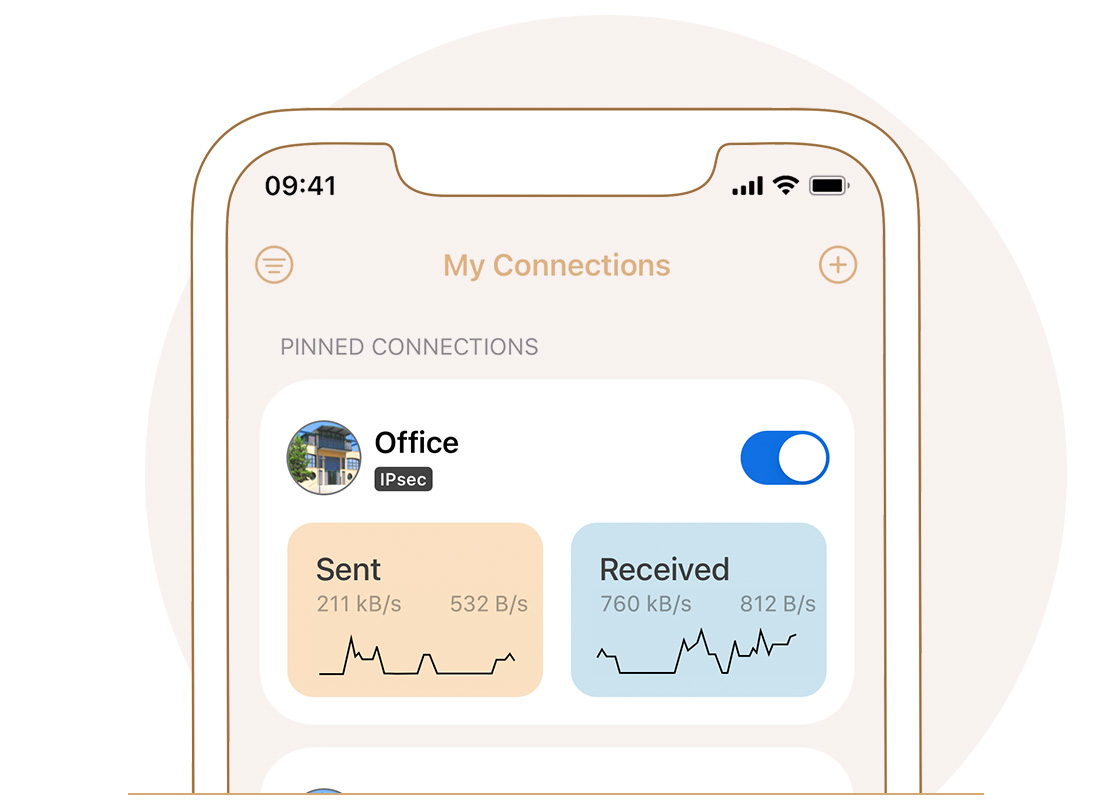
As soon as you're finished configuring your new IKEv1 IPsec connection, save it in your VPN Tracker account using secure end-to-end encryption and enjoy easy remote access on your Mac, iPhone and iPad in VPN Tracker.
Why VPN Tracker?
Connecting to IKEv1 IPSec VPN? VPN Tracker is your best choice VPN client for Mac, iPhone and iPad. VPN Tracker's custom IPsec engine includes unbeatable support for all relevant IKE extensions, providing seamless compatibility with the most popular IPsec VPN gateways from Cisco, Fortinet, Zyxel, TP Link, Draytek, and more.
Your VPN Tracker benefits
- Secure remote access to your company network, home office, and Smart Home - all in one app
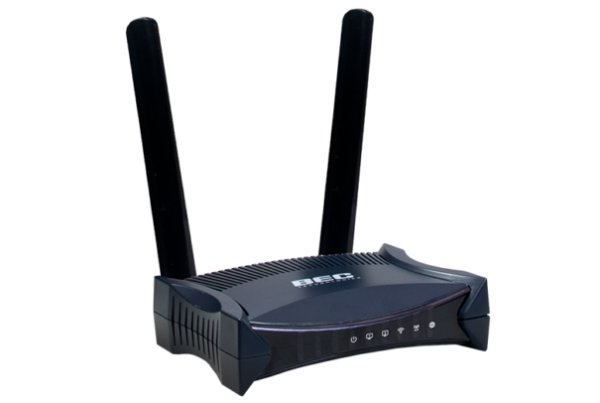
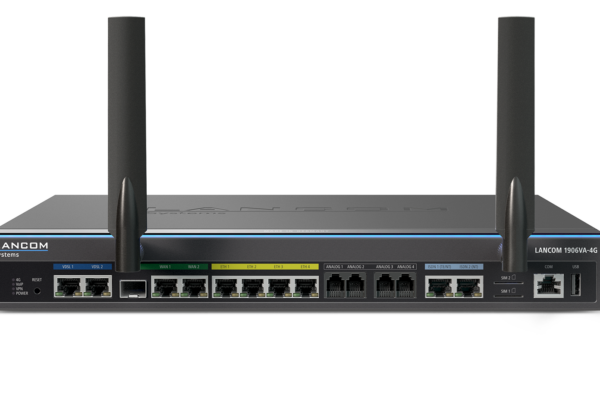
- Use your own VPN gateway
-
Ready-made profiles for 300+ VPN devices
- Configuration wizard for a smooth and fast setup
- For Mac, iPhone, iPad
- Discover all features